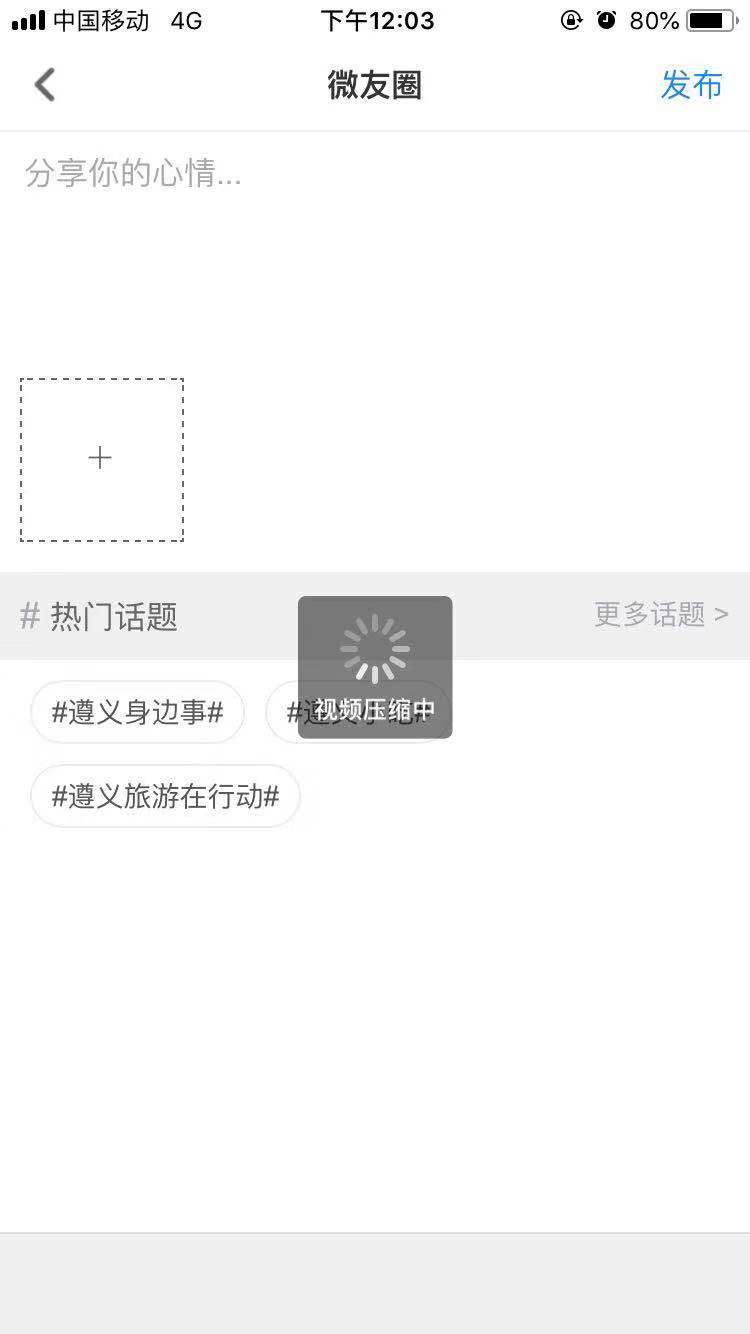
要想实现更多功能 适应更多应用场景 肯定是要选择离线打包的

第一步
1.在HBuilder-Hello目录下新建compressVideo文件夹,在改文件夹下新建文件SendVideoView.h和SendVideoView.m
2.SendVideoView.h代码
#include "PGPlugin.h"
#include "PGMethod.h"

@interface SendVideoView : PGPlugin
    - (void)compression:(PGMethod*)commands;
    - (CGFloat)fileSize:(NSURL*)path;
    -(NSString *)getNowTimeTimestamp;
@end
3.SendVideoView.m代码
#import "SendVideoView.h"
#import <AssetsLibrary/AssetsLibrary.h>
#import <AVFoundation/AVFoundation.h>

@implementation SendVideoView
-(NSString *)getNowTimeTimestamp{

    NSDateFormatter *formatter = [[NSDateFormatter alloc] init] ;

    [formatter setDateStyle:NSDateFormatterMediumStyle];

    [formatter setTimeStyle:NSDateFormatterShortStyle];

    [formatter setDateFormat:@"YYYY-MM-dd HH:mm:ss"]; // ------ ----设置你想要的格式,hh与HH的区别:分别表示12小时制,24小时制

    //设置时区,这个对于时间的处理有时很重要

    NSTimeZone* timeZone = [NSTimeZone timeZoneWithName:@"Asia/Shanghai"];

    [formatter setTimeZone:timeZone];

    NSDate *datenow = [NSDate date];//现在时间,你可以输出来看下是什么格式

    NSString *timeSp = [NSString stringWithFormat:@"%ld", (long)[datenow timeIntervalSince1970]];

    return timeSp;

}
//计算压缩大小
- (CGFloat)fileSize:(NSURL*)path
{
    return [[NSData dataWithContentsOfURL:path] length]/1024.00 /1024.00;
}
//压缩
- (void)compression:(PGMethod*)commands
{
    NSString* parameter0 = [commands.arguments objectAtIndex:0];
    NSLog(@"parameter=%@",parameter0);
    NSString* callFunc = [commands.arguments objectAtIndex:1];
    NSURL * url = [NSURL URLWithString:parameter0];
     NSLog(@"第一个参数=%@",parameter0);
      NSLog(@"压缩前大小 %f MB",[self fileSize:url]);
    //    创建AVAsset对象
    AVAsset* asset = [AVAsset assetWithURL:url];
    /*   创建AVAssetExportSession对象
     压缩的质量
     AVAssetExportPresetLowQuality   最low的画质最好不要选择实在是看不清楚
     AVAssetExportPresetMediumQuality  使用到压缩的话都说用这个
     AVAssetExportPresetHighestQuality  最清晰的画质

     */
    AVAssetExportSession * session = [[AVAssetExportSession alloc] initWithAsset:asset presetName:AVAssetExportPresetMediumQuality];
    //优化网络
    session.shouldOptimizeForNetworkUse = YES;
    //转换后的格式

    //拼接输出文件路径 为了防止同名 可以根据日期拼接名字 或者对名字进行MD5加密

    NSString* path = [NSTemporaryDirectory() stringByAppendingPathComponent:[[self getNowTimeTimestamp] stringByAppendingString: @".mp4"]];
    //判断文件是否存在,如果已经存在删除
    [[NSFileManager defaultManager]removeItemAtPath:path error:nil];
    //设置输出路径
    session.outputURL = [NSURL fileURLWithPath:path];

    //设置输出类型  这里可以更改输出的类型 具体可以看文档描述
    session.outputFileType = AVFileTypeMPEG4;

    [session exportAsynchronouslyWithCompletionHandler:^{
        NSLog(@"%@",[NSThread currentThread]);

        //压缩完成

        if (session.status==AVAssetExportSessionStatusCompleted) {
            //在主线程中刷新UI界面,弹出控制器通知用户压缩完成
            dispatch_async(dispatch_get_main_queue(), ^{
                NSString* pResultString = [@"file://" stringByAppendingPathComponent:path];
                NSLog(@"path=%@",path);
                PDRPluginResult *result = [PDRPluginResult resultWithStatus:PDRCommandStatusOK messageAsString:pResultString];
                [self toCallback:callFunc withReslut:[result toJSONString]];
                NSFileManager* fileManager=[NSFileManager defaultManager];
                // 删除沙盒中的视频
                BOOL blHave=[[NSFileManager defaultManager] fileExistsAtPath:[parameter0 substringFromIndex:7]];
                if(blHave){
                    BOOL blDele= [fileManager removeItemAtPath:[parameter0 substringFromIndex:7] error:nil];
                }
                // 以下调试时开起
//                NSLog(@"导出完成");
//                NSLog(@"压缩完毕,压缩后大小 %f MB",[self fileSize:session.outputURL]);
            });

        }

    }];

}

@end
第二步
1.打开PandoraApi.bundle下的feature.plist文件
- feature.plist文件里加入
<key>compressVideo</key>
<dict>
<key>class</key>
<string>SendVideoView</string>
<key>global</key>
<true/>
<key>autostart</key>
<string>YES</string>
</dict>
第三步
在html 页面 用JS通过 Native.js,调用原生类
var _BARCODE = 'compressVideo'
var B = window.plus.bridge
var compressVideo = {
compression: function (path, successCallback) {
  var success = typeof successCallback !== 'function' ? null : function (args) {
      successCallback(args)
    },
    callbackID = B.callbackId(success, null)
  return B.exec(_BARCODE, 'compression', [path, callbackID])
}
}
window.plus.compressVideo = compressVideo
就这么多了,不懂的可以加群864017187(dcloud混合开发交流群)
安卓版的视频压缩,改天有空了再写出来


