![](http://img-cdn-tc.dcloud.net.cn/uploads/avatar/000/18/42/62_avatar_mid.jpg?v=0)
关于安卓获取IMEI那些破事
获取imei需要用户给获取手机标识的权限,
h5+ 封装的那个 plus.device.imei 看上去很美好。
但是OPPO手机存在一个缺陷,刚安装用户第一次打开 返回的imei是错误的一串16位的字符串(非纯数字)
杀掉进程第二次进入 才能正确获取imei,无论延迟或者别的页面触发 都一样的。
采用以下原始的方法完美获取IMEI ,折腾了很久。希望能给遇到的朋友派上用处:
if (plus.os.name == "Android") {
var Context = plus.android.importClass("android.content.Context");
var tephoneManager = plus.android.importClass("android.telephony.TelephonyManager");
var tm = plus.android.runtimeMainActivity().getSystemService(Context.TELEPHONY_SERVICE);
this.imei = tm.getDeviceId();
}
![](https://img-cdn-tc.dcloud.net.cn/account/identicon/c9d0abf840bebce50da56e6d03b058f6.png)
native.js实现AlarmManager定时任务
由于公司业务需要,必须需要定时任务,以前从来没用过JAVA写代码,只能先研究了原生代码,再研究了《Android平台通过native.js实现接收系统消息,如监听安装卸载apk事件》,有了以下代码,在android9.0通过测试,代码如下:
var AlarmManager;
var PendingIntent;
var Intent;
var IntentFilter;
var Context;
var Calendar;
var main;
var System;
var receiver;
var ALARM_EVENT = "com.kkaass.alarm";
mui.plusReady(function(){
AlarmManager = plus.android.importClass('android.app.AlarmManager');
PendingIntent = plus.android.importClass('android.app.PendingIntent');
Intent = plus.android.importClass('android.content.Intent');
IntentFilter = plus.android.importClass('android.content.IntentFilter');
Context = plus.android.importClass('android.content.Context');
receiver = plus.android.implements('io.dcloud.android.content.BroadcastReceiver',{
onReceive:function(context,intent){
if(intent != null){
console.log('闹铃来了');
SetAlarm();
}
}
});
main = plus.android.runtimeMainActivity();
Calendar = plus.android.importClass('java.util.Calendar');
System = plus.android.importClass('java.lang.System');
var intentfilter = new IntentFilter();
intentfilter.addAction(ALARM_EVENT);
main.registerReceiver(receiver,intentfilter)
});
function SetAlarm(){
var intent = new Intent(ALARM_EVENT);
var pendingintent = PendingIntent.getBroadcast(main,0,intent,PendingIntent.FLAG_UPDATE_CURRENT);
var alarmManager =main.getSystemService(Context.ALARM_SERVICE);
var calendar = Calendar.getInstance();
calendar.setTimeInMillis(System.currentTimeMillis());
calendar.add(Calendar.SECOND,20);
alarmManager.setAndAllowWhileIdle(AlarmManager.RTC_WAKEUP,calendar.getTimeInMillis(),pendingintent);//setAndAllowWhileIdle方法API>=23才能使用
}
收起阅读 »
![](https://img-cdn-tc.dcloud.net.cn/account/identicon/9d4f751d161ca8367fcdf3e9cac54753.png)
关于unipush的一点使用心得
社区不行,自己研究了很久,先记录一下。
关于如何触发unipush的receive事件,之前有看见好几年的帖子都没人回复。头疼。
首先后端在使用代码测试时,虽然使用了透传的代码,但是app接收到的还是通知,而不是透传,透传和通知是两回事儿。
在app进程未被杀死时,也就是app在线的情况下,payload的数据格式不是按照标准的格式才会触发receive事件。
标准payload事件 String payload=“{title:xxxx,content:yyyy,payload:{{title:xxxx,content:yyyy,payload:{id:1000,id2:1002,id3:1003}}}}”
具体现在也还没有试过这样的标准的事件是不是不能触发receive,我看社区别人说的都不行。
至于什么是不标准的格式呢?这样的就行{"UUID":"androidPushMsg232","title":"测试","content":"测试离线ddd","payload":"测试离线ddd"},数据格式不标准不是指数据格式错误,而是自定义数据格式,只要不同于标准的数据格式就行了。
另外比较重要的是,如果你推送消息,在app打开的时候,通知栏如果有信息,那这就不是透传,而是通知。
在app进程被杀死后,透传就会直接到通知栏,并且只能触发click事件。
透传在app打开时,是不会发送到通知栏的,而是直接发送数据,不会进行页面上的一些展示。
另外我们后端的大佬用文档说的透传方法,在服务端发起的透传,在app上也是通知,这个坑导致一个上午都以为发起的通知是透传,也是为什么不触发receive的原因
收起阅读 »![](https://img-cdn-tc.dcloud.net.cn/account/identicon/e6cd30eabff465a7ee2f17db4e4f57ed.png)
团队全职长期接APP,中后台开发
开发经验:5年。
UNI经验:从UNI发布至今一直使用,前以及开发了10多个UNIAPP项目
UNI项目其中包含:淘宝客项目、教育类项目、区块链项目、商城项目等其他小中大型APP
说明:团队承接,长期接外包,公司个人均可
技术方向:uniapp、 vue、 python、 php、 flutter、 nodejs、react、golang
联系方式q:1910563900
微信:BGF-FF
开发经验:5年。
UNI经验:从UNI发布至今一直使用,前以及开发了10多个UNIAPP项目
UNI项目其中包含:淘宝客项目、教育类项目、区块链项目、商城项目等其他小中大型APP
说明:团队承接,长期接外包,公司个人均可
技术方向:uniapp、 vue、 python、 php、 flutter、 nodejs、react、golang
联系方式q:1910563900
微信:BGF-FF
![](http://img-cdn-tc.dcloud.net.cn/uploads/avatar/000/79/13/13_avatar_mid.jpg?v=0)
app兼h5项目开发经验记录
App
1、ios 软键盘弹收起后,需将页面归位,代码如下:
uni.pageScrollTo({
scrollTop: 0,
duration: 300
});
2、安卓输入框被软键盘遮挡:
如果,输入框在scroll-view里:
1)输入框focus时,改变scroll-view 的scroll-top 属性值【bug:h5生效,app里不生效】
3、行内样式不能使用upx 单位,需要的话,可使用 uni.upx2px(**) 转换
computed: {
pageTop(){
return uni.upx2px(this.top);
}
}
4、uniapp 官方bug: uni.getImageInfo() app端 网络图片无法加载
社区问题: https://ask.dcloud.net.cn/question/71511
5、uniapp 官方bug:measureText() 目前只支持小程序和h5
https://ask.dcloud.net.cn/question/70374
![](http://img-cdn-tc.dcloud.net.cn/uploads/avatar/000/64/55/99_avatar_mid.jpg?v=0)
教你如何优雅的使用uni.xxxxx 异步接口
//配置 main.js
//-------------------------main.js
const $uni = new Proxy(uni, {//Proxy代理
get: (target, prop) => {
return (options) => {
return new Promise((resolve, reject) => {
target[prop]({
success: resolve,
fail: reject,
...options
})
})
}
},
set: (target, prop, value) => {
target[prop] = value
}
})
Vue.prototype.$uni = $uni // 挂载到vue上 可以直接this.$uni.xxxx()
//如何使用
//----------------------------.vue文件
const userInfo= await this.$uni.getUserInfo()
console.log(userInfo)
const res=await this.uni.getLocation({type: 'wgs84'})
console.log('当前位置的经度:' + res.longitude);
console.log('当前位置的纬度:' + res.latitude);
//or
try {
const res=await this.$uni.getLocation({type: 'wgs84'})
console.log('当前位置的经度:' + res.longitude);
console.log('当前位置的纬度:' + res.latitude);
} catch (error) {
//todo 相当于 fail事件
}
//----------------.js文件
import Vue from 'vue'
const $uni= Vue.prototype.$uni
const userInfo= await $uni.getLocation({type: 'wgs84'})
console.log(userInfo)
const res= await $uni.getLocation({type: 'wgs84'})
console.log('当前位置的经度:' + res.longitude);
console.log('当前位置的纬度:' + res.latitude);
//or
try {
const res=await $uni.getLocation({type: 'wgs84'})
console.log('当前位置的经度:' + res.longitude);
console.log('当前位置的纬度:' + res.latitude);
} catch (error) {
//todo 相当于 fail事件
}
手动滑稽,有赞吗
收起阅读 »![](https://img-cdn-tc.dcloud.net.cn/account/identicon/e85427b8af1ad15e0038d5807ee15ebd.png)
uni怎么写全局背景颜色。
我在公共css里面写了渐变背景
body {
width: 100%;
height: 100%;
background: linear-gradient(red, yellow);
}
可是当页面过长,或者超过一屏幕的时候,背景颜色就repeat-y了,不是整个背景就一个渐变。
请问我应该把这个渐变背景样式下载哪个选择器上面啊。求解答
我在公共css里面写了渐变背景
body {
width: 100%;
height: 100%;
background: linear-gradient(red, yellow);
}
可是当页面过长,或者超过一屏幕的时候,背景颜色就repeat-y了,不是整个背景就一个渐变。
请问我应该把这个渐变背景样式下载哪个选择器上面啊。求解答
![](https://img-cdn-tc.dcloud.net.cn/account/identicon/04296ef4a4ea0686fcc40ebb53fbce72.png)
uni-app接入android原生环信客服(非IM)
![](http://img-cdn-tc.dcloud.net.cn/uploads/avatar/000/19/28/77_avatar_mid.jpg?v=1725428993)
Loading图总有一款适合你的
总有一款适合你的Loading
插件预览图
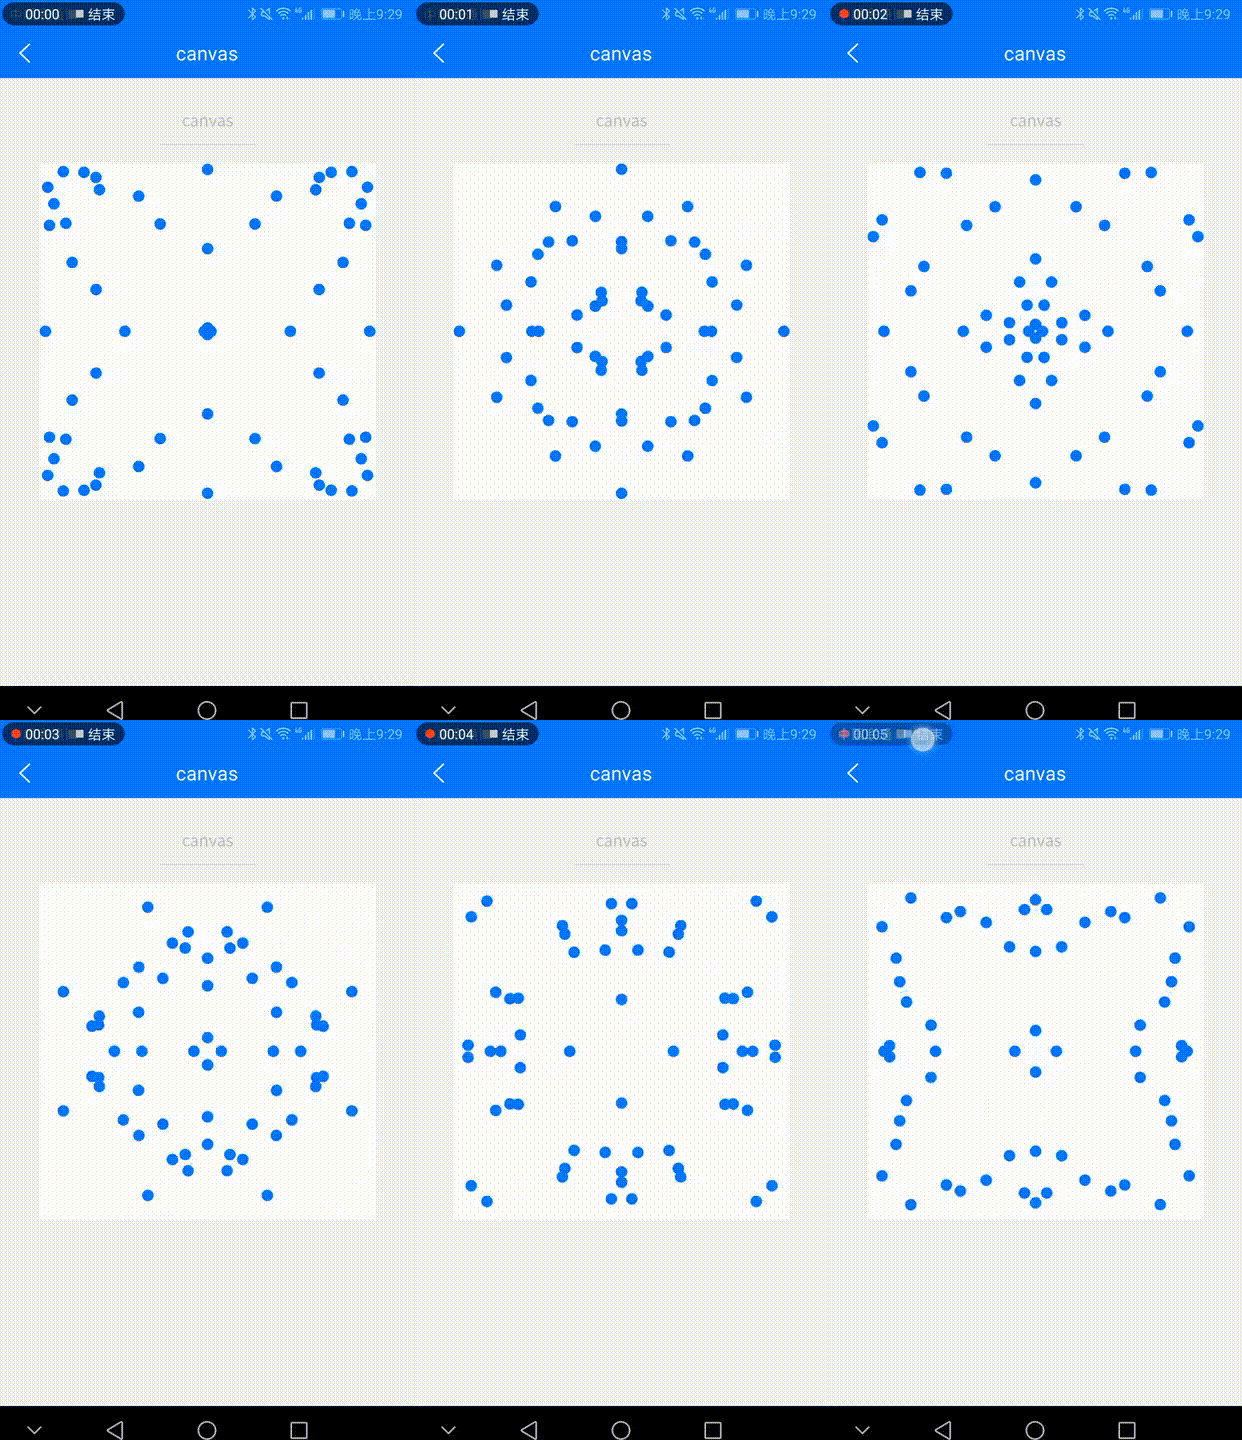
![](http://img-cdn-tc.dcloud.net.cn/uploads/article/20190705/d217fbc540cb03f45eaaf5d5ddcbad53.gif)
使用教程
1.插件代码拷贝
- 下载后把components目录下countUp.vue文件拷贝到自己项目目录下
2.插件全局配置
- 在项目里main.js中配置如下代码
import loading from './components/loading/loading.vue'
Vue.component('loading',loading)
3.插件使用
- vue页面使用
<template>
<view>
<loading ></loading>
</view>
</template>
<script>
</script>
<style>
</style>
还收集了一些其他的Loding
暂时收集了这些,我相信能满足大部分人的需求了
兼容性
uni-app项目中使用都兼容
总有一款适合你的Loading
插件预览图
使用教程
1.插件代码拷贝
- 下载后把components目录下countUp.vue文件拷贝到自己项目目录下
2.插件全局配置
- 在项目里main.js中配置如下代码
import loading from './components/loading/loading.vue'
Vue.component('loading',loading)
3.插件使用
- vue页面使用
<template>
<view>
<loading ></loading>
</view>
</template>
<script>
</script>
<style>
</style>
还收集了一些其他的Loding
暂时收集了这些,我相信能满足大部分人的需求了
兼容性
uni-app项目中使用都兼容
收起阅读 »![](https://img-cdn-tc.dcloud.net.cn/account/identicon/e85427b8af1ad15e0038d5807ee15ebd.png)
uni.navigateTo 的url不能用变量拼接的方式吗 求大神解答
uni.navigateTo({
url:"/pages/member/"+k+"/"+k
})
如上写法 页面会报错navigateTo:fail page /pages/member/set_phone/set_phone
is not found,可是我页面是真实存在的。
如果真不能这样写的话 那应该怎么写 难道一个一个判断 然后写???
uni.navigateTo({
url:"/pages/member/"+k+"/"+k
})
如上写法 页面会报错navigateTo:fail page /pages/member/set_phone/set_phone
is not found,可是我页面是真实存在的。
如果真不能这样写的话 那应该怎么写 难道一个一个判断 然后写???
![](http://img-cdn-tc.dcloud.net.cn/uploads/avatar/000/21/32/72_avatar_mid.jpg?v=0)
uniapp NFC可读写nfcv格式的nfc标签
需求:
在实现了可读写nfc(ndef)标签后,需要兼容另一个标签格式nfcv。
uniapp下nfc如果没有读到参考 uniapp 实现 NFC标签读取 和 写入
读:
java参考代码
private void readNfcv(Tag tag) {
System.out.println("进入readNfcv方法");
NfcV tech = NfcV.get(tag);
if (tech != null) {
try {
tech.connect();
if (tech.isConnected()) {
byte[] tagUid = tag.getId();
System.out.println("ceshi00000:"+tagUid);
// store tag UID for use in addressed commands
//读第一个block
byte[] read = new byte[]{
(byte) 0x22, // FLAGS
(byte) 0x23, // 20-READ_SINGLE_BLOCK,23-所有块
0, 0, 0, 0, 0, 0, 0, 0,
0, 0
};
System.out.println("ceshi:"+read);
System.arraycopy(tagUid, 0, read, 2, tagUid.length); // paste tag UID into command
byte[] res = tech.transceive(read);
System.out.println("2222222:"+res);
if (res != null) {
System.out.println("标记:"+ Arrays.toString(res));
//nfcContent.append("NfcV: " + new String(res, Charset.forName("utf-8")));
if(res[1] == 'H'&& res[2] =='J' && res[3] == 'I'){
int blockAddress = 1;
int blocknum = res[4];
byte[] cmd = new byte[]{
(byte) 0x22, // FLAGS
(byte) 0x23, // 20-READ_SINGLE_BLOCK,23-所有块
0, 0, 0, 0, 0, 0, 0, 0,
(byte) (blockAddress & 0x0ff), (byte) (blocknum - 1 & 0x0ff)
};
System.arraycopy(tagUid, 0, cmd, 2, tagUid.length); // paste tag UID into command
byte[] response = tech.transceive(cmd);
System.out.println("主要数据"+Arrays.toString(response));
if (response != null) {
nfcContent.append("NfcV: " + new String(response, Charset.forName("utf-8")));
}
}
}
}
} catch (IOException e) {
e.printStackTrace();
}finally {
try {
tech.close();
} catch (IOException e) {
e.printStackTrace();
}
}
}
}
js实现代码:
readNfcV(intent) {
var NfcV = plus.android.importClass('android.nfc.tech.NfcV');
var tag = intent.getParcelableExtra(NfcAdapter.EXTRA_TAG);
// console.log(tag);
console.log(NfcV.get(tag));
var tech = NfcV.get(tag);
if (tech != null) {
try {
tech.connect();
console.log(tech.isConnected());
if (tech.isConnected()) {
console.log('卡片字节数组ID:' + tag.getId());
var tagUid = tag.getId();
var buffer = [];
buffer[0] = 0x22;
buffer[1] = 0x23;
for (var i in tagUid) {
// console.log(tagUid[i]);
buffer.push(tagUid[i]);
}
buffer[10] = 0;
buffer[11] = 0;
console.log(buffer);
var res = tech.transceive(buffer);
if (res != null) {
console.log('标记:' + res);
if (String.fromCharCode(res[1]) == 'H' && String.fromCharCode(res[2]) == 'J' && String.fromCharCode(res[3]) == 'I') {
var blockAddress = 1;
var blocknum = res[4];
var cmd = [];
cmd[0] = 0x22;
cmd[1] = 0x23;
for (var i in tagUid) {
// console.log(tagUid[i]);
cmd.push(tagUid[i]);
}
cmd[10] = blockAddress & 0x0ff;
cmd[11] = (blocknum - 1) & 0x0ff;
console.log(cmd);
var response = tech.transceive(cmd);
var str = ""
for(var j in response){
// console.log(typeof response[j])
str +=this.bytesToString(response[j]);
}
console.log(str)
}
}
}
} catch (e) {
//TODO handle the exception
}
}else{
this.readNfc(intent)
}
},
写:
JAVA参考代码
public void writeNfcV(View view) {
System.out.println("进入writeNfcV方法");
NfcV nfcV = null;
Intent intent = getIntent();
Tag tag = intent.getParcelableExtra(NfcAdapter.EXTRA_TAG);
if (tag == null) {
nfcContent.append("未检测到NFC标签!");
return;
}
try {
nfcV = NfcV.get(tag);
nfcV.connect();
System.out.println("最大字节数:"+nfcV.getMaxTransceiveLength());
byte[] ID = nfcV.getTag().getId();
byte[] cmd = new byte[15];
cmd[0] = (byte) 0x22;
cmd[1] = (byte) 0x21;
System.arraycopy(ID, 0, cmd, 2, ID.length); // UID
byte[] input = nfcWrite.getText().toString().getBytes();
int count = (input.length+3)/4;//存储block数(用户输入)
System.out.println("count:"+count);
byte[] data = new byte[(count+1)*4];
System.out.println("data000:"+Arrays.toString(data));
byte[] mark = new byte[4];
mark[0] = 'H';
mark[1] = 'J';
mark[2] = 'I';
mark[3] = (byte) count;
System.out.println("MARK01:"+Arrays.toString(mark));
System.arraycopy(mark,0,data,0,4);
System.out.println("DATA01:"+Arrays.toString(data));
System.arraycopy(input,0,data,4,input.length);
System.out.println("DATA02:"+Arrays.toString(data));
for (int i = 0; i < count+1; i++) {
cmd[10] = (byte)(i & 0x0ff);
System.arraycopy(data, i*4, cmd, 11, 4);
byte[] rsp = nfcV.transceive(cmd);
if(rsp[0] == 0x00 && i==count) {
Toast.makeText(this, "已成功写入数据!", Toast.LENGTH_LONG).show();
}
}
} catch (IOException e) {
e.printStackTrace();
}finally {
try {
if(nfcV != null) {
nfcV.close();
}
} catch (IOException e) {
e.printStackTrace();
}
}
}
JS实现代码
__writeNfcV(intent) {
try {
waiting = plus.nativeUI.showWaiting('请将NFC标签靠近!');
waiting.setTitle('请勿移开标签\n正在写入...');
// var text = document.getElementById('text').value;
console.log('text=' + this.writeCode);
var textBytes = plus.android.invoke(this.writeCode, 'getBytes');
var textRecord = new NdefRecord(NdefRecord.TNF_MIME_MEDIA, plus.android.invoke('text/plain', 'getBytes'), plus.android
.invoke('', 'getBytes'), textBytes);
var message = new NdefMessage([textRecord]);
var NfcV = plus.android.importClass('android.nfc.tech.NfcV');
// var NdefFormatable = plus.android.importClass('android.nfc.tech.NdefFormatable');
var tag = intent.getParcelableExtra(NfcAdapter.EXTRA_TAG);
var nfcv = NfcV.get(tag);
console.log('标签格式:' + nfcv);
var bytesId = intent.getByteArrayExtra(NfcAdapter.EXTRA_ID);
console.log('bytesId:' + bytesId);
// console.log(nfcv.getTag().getId())
if (nfcv != null) {
nfcv.connect();
var size = nfcv.getMaxTransceiveLength();
this.writeCode = '123456';//编辑内容
var strVal = this.writeCode;
console.log("zijie:" + this.stringToByte(strVal))
var strValByte = this.stringToByte(strVal);
console.log(strValByte.length)
console.log('最大字节数:' + size);
var cmd = [];
cmd[0] = 0x22;
cmd[1] = 0x21;
for (var i in bytesId) {
// console.log(tagUid[i]);
cmd.push(bytesId[i]);
}
console.log(cmd);
var count = parseInt(strValByte.length + 3)/4 ;//存block数
console.log("count:"+count);
var datav = new Array((count+1)*4);
console.log("datav:"+datav)
// var mark = [];
// mark[0]="72"; //H
// mark[1] = "74";//J
// mark[2] = "73";//I
// mark[3]=count;
datav[0] = 72;
datav[1] = 74;
datav[2] = 73;
datav[3] = count;
// console.log("datav01:"+datav)
for(var j=0;j<strValByte.length;j++){
// console.log(strValByte[j]);
datav[4+j] = strValByte[j]
}
console.log("datav02:"+datav);
for(var i = 0;i<count+1;i++){
cmd[10] = i&0x0ff;
for(var s=0;s<4;s++){
cmd[11+s] = datav[4*i+s];
}
// cmd[11+i]=datav[i*4+i]
console.log("cmd22:"+cmd);
var rsp = nfcv.transceive(cmd);
console.log(rsp[0])
if(rsp[0] == 0x00&& i == count){
console.log('写入数据成功.');
uni.showToast({
title: '写入数据成功.',
icon: 'none'
});
}
}
waiting.close();
return;
} else {
console.log("未检测到NFCV标签");
waiting.close();
this.__write(intent);
return;
}
} catch (e) {
console.log('error=' + e);
waiting.close();
uni.showToast({
title: 'NFC标签写入失败,请重新贴近手机',
icon: 'none'
});
}
},
stringToByte(str) {
var bytes = new Array();
var len, c;
len = str.length;
for (var i = 0; i < len; i++) {
c = str.charCodeAt(i);
if (c >= 0x010000 && c <= 0x10FFFF) {
bytes.push(((c >> 18) & 0x07) | 0xF0);
bytes.push(((c >> 12) & 0x3F) | 0x80);
bytes.push(((c >> 6) & 0x3F) | 0x80);
bytes.push((c & 0x3F) | 0x80);
} else if (c >= 0x000800 && c <= 0x00FFFF) {
bytes.push(((c >> 12) & 0x0F) | 0xE0);
bytes.push(((c >> 6) & 0x3F) | 0x80);
bytes.push((c & 0x3F) | 0x80);
} else if (c >= 0x000080 && c <= 0x0007FF) {
bytes.push(((c >> 6) & 0x1F) | 0xC0);
bytes.push((c & 0x3F) | 0x80);
} else {
bytes.push(c & 0xFF);
}
}
return bytes;
},
ps:
写的时候被自己蠢到了,java btye[]浪费了写时间,结果在最简单的w3c文档中看到byte在js中属于number。
![](http://img-cdn-tc.dcloud.net.cn/uploads/avatar/000/00/00/46_avatar_mid.jpg?v=0)
iOS平台配置应用使用广告标识(IDFA)
此文档将不再维护,请参考新文档:https://uniapp.dcloud.io/tutorial/app-ios-idfa
HBuilderX 3.2.9+ 版本已适配 iOS15 请更新
- 将 HX 升级到 3.2.9 及以上版本,建议使用最新的版本;
- 如果项目是通过 cli 创建的需要将依赖也升级到新版本;
概述
12年9月份iOS6发布,IDFA面世,主要用于给开发者跟踪应用中广告的投放效果,但很多应用(或三方SDK)会获取IDFA作为设备唯一标识使用。
iOS14.5 发布之后,苹果要求应用获取 IDFA 时,需弹出用户许可收集跟踪数据的授权框,如果没有弹出授权框则可能会被App Store审核拒绝,提示违反5.1.2规则:
Guideline 5.1.2 - Legal - Privacy - Data Use and Sharing
We noticed you do not use App Tracking Transparency to request the user's permission before tracking their activity across apps and websites. The app privacy information you provided in App Store Connect indicates you collect data in order to track the user, including Device ID and Precise Location.
Starting with iOS 14.5, apps on the App Store need to receive the user’s permission through the AppTrackingTransparency framework before collecting data used to track them. This requirement protects the privacy of App Store users.
Next Steps
Here are two ways to resolve this issue:
- You can remove the tracking functionality from your app and update your app privacy information in App Store Connect.
- If you decide to continue tracking users, you must implement App Tracking Transparency and request permission before collecting data used to track the user or device.
Resources
- See Frequently Asked Questions about the new requirements for apps that track users.
- Learn more about designing appropriate permission requests.
请使用 HBuilderX 3.2.9+ 版本,按照下面步骤配置开启广告标识(IDFA),重新打包提交审核`
如何判断是否需要开启广告标识(IDFA)?
1.只要您的应用使用了uni-AD广告模块,就需要开启 IDFA;
2.使用的 HX 版本低于 3.2.15 版本并且应用使用了新浪微博登录和分享、一键登录、友盟统计 其中一个或多个功能模块,这些SDK内会触发获取IDFA,所以需要开启 IDFA (注:HX 3.2.15及以上版本更新了这些三方SDK,不在获取IDFA)
一些uni原生插件也可能会读取IDFA,因此碰到App Store审核不通过,提示违反5.1.2规则且内容中包含App Tracking Transparency
都可以通过配置开启广告标识(IDFA)解决。
uni-AD中的广告基础功能并不会访问IDFA,没有勾选三方广告SDK时不需要访问开启广告标识(IDFA)
注:对于非广告类的三方SDK,我们会密切关注其官方的版本更新,待官方出了不包含IDFA的版本我们会尽快适配升级
配置开启广告标识(IDFA)
在 manifest.json 文件的 “App常用其它设置” 中可勾选开启(注意HBuilder X 2.4以上为默认勾选),需提交云端打包才会生效
配置 NSUserTrackingUsageDescription 隐私描述
开启广告标识(IDFA)后,云端打包默认隐私描述为“请放心,开启权限不会获取您在其他站点的隐私信息,该权限仅用于标识设备并保障服务安全与提示浏览体验”,也可以在 manifest.json 文件的 “App权限配置” 项的“iOS隐私信息访问的许可描述”下配置 NSUserTrackingUsageDescription 隐私描述:
注:使用低版本HBuilderX时可以切换到manifest.json的源码视图,手动在"privacyDescription"节点下添加 NSUserTrackingUsageDescription 字段配置隐私描述。
隐私描述是为了告诉用户,应用为什么要跟踪用户及访问设备的IDFA,配置的描述内容会展示在授权框上,参考以下建议描述说明:
- 包含uni-AD功能时填写: 请放心,开启权限不会获取您在其他站点的隐私信息,该权限仅用于标识设备、第三方广告、并保障服务安全与提示浏览体验
- 不包含uni-AD功能时填写:请放心,开启权限不会获取您在其他站点的隐私信息,该权限仅用于标识设备并保障服务安全与提示浏览体验
运行时弹出授权提示框显示效果如下:
配置 “App 隐私”
开启广告标识(IDFA)后,提交App Store审核之前,需要在App Store Connect 配置 “App 隐私”。
首先点击编辑“数据类型”,勾选 “是,我们会从此App收集数据” 选项;然后点下一步,
因为uni框架会收集崩溃数据,所以需要勾选列表中的“崩溃数据”选项,另外再勾选“设备 ID”选项;
如果您使用了uni-AD,则勾选“广告数据”选项,如果没有,则不勾选;
如下图所示,然后发布。
注意:编辑“数据类型”时,需根据自己应用使用到的数据,灵活勾选;比如使用了定位,则勾选定位相关的选项
再编辑“设备 ID” (如使用了uni-AD则再勾选“第三方广告”选项)
编辑“崩溃数据”
编辑“广告数据”(如果上一步勾选了)
完成界面
代码中如何获取IDFA标识
plus.device.getInfo({//需要勾选IDFA
success:function(e){
console.log('idfa = '+JSON.stringify(e.idfa));
},
fail:function(e){
console.log('getDeviceInfo failed: '+JSON.stringify(e));
}
});
也可通过native.js获取:
var idfa = '';
var manager = plus.ios.invoke('ASIdentifierManager', 'sharedManager');
if(plus.ios.invoke(manager, 'isAdvertisingTrackingEnabled')){
var identifier = plus.ios.invoke(manager, 'advertisingIdentifier');
idfa = plus.ios.invoke(identifier, 'UUIDString');
plus.ios.deleteObject(identifier);
}
plus.ios.deleteObject(manager);
console.log('idfa = '+idfa);
参考Uni插件示例:https://ext.dcloud.net.cn/plugin?id=726
5+SDK离线打包
配置参考文档:https://nativesupport.dcloud.net.cn/AppDocs/usesdk/ios
注意事项
配置NSUserTrackingUsageDescription仍然审核不通过,提示违反5.1.1规则:
如果配置了开启广告标识(IDFA)并且也配置了 NSUserTrackingUsageDescription隐私描述,但是应用还是被App Stroe审核拒绝,且提示违反5.1.1规则:
Guideline 5.1.1 - Legal - Privacy - Data Collection and Storage
We noticed that your app requests the user's consent to access the AppTrackingTransparency framework, but doesn't sufficiently explain the use of the AppTrackingTransparency framework in the purpose string.
To help users make informed decisions about how their data is used, all permission request alerts need to specify how your app will use the requested information.
Next Steps
Please revise the relevant purpose string in your app's Info.plist file to specify why your app needs access to the user's AppTrackingTransparency framework.
You can modify your app's Info.plist file using the property list editor in Xcode.
Resources
- See example of helpful, informative purpose strings.
- Review a list of relevant property list keys.
则可能是描述内容过于简单,没有准确说明应用为什么要跟踪用户及访问设备的IDFA,可参考上文的建议更新NSUserTrackingUsageDescription描述内容
配置NSUserTrackingUsageDescription仍然审核不通过,提示违反2.1规则:
如果配置了开启广告标识(IDFA)并且也配置了 NSUserTrackingUsageDescription隐私描述,但是应用还是被App Stroe审核拒绝,且提示违反2.1规则:
Guideline 2.1 - Information Needed
We're looking forward to completing the review of your app, but we need more information to continue. Specifically, we noticed that your app uses the AppTrackingTransparency framework, but we haven't been able to locate the App Tracking Transparency permission request.
Next Steps
Please indicate where in your app we can find the AppTrackingTransparency permission request. The request should appear before any data is collected that could be used to track the user.
Apps that track user's activity must implement App Tracking Transparency and request permission before collecting data used to track.
Resources
See Frequently Asked Questions about the new requirements for apps that track users.
Since your App Store Connect status is Metadata Rejected, we do NOT require a new binary. To revise the metadata, visit App Store Connect to select your app and revise the desired metadata values. Once you’ve completed all changes, reply to this message in Resolution Center and we will continue the review.
则可能是App Store Connect配置 “App 隐私”的选项不对,请参考上文重新 配置 “App 隐私”中的选项。
配置NSUserTrackingUsageDescription后真机运行不弹出授权提示框
如果按照上述描述勾选了IDFA 和配置了NSUserTrackingUsageDescription隐私描述,但是真机运行App启动时没有弹出授权提示框,可能的原因是,手机的系统版本是iOS14以下的,或者是iOS14.5的手机,但是手机“设置-隐私-跟踪”里,系统默认将“跟踪选项”关闭了且灰色不可设置;目前这种情况还不确定是iOS的bug,还是是针对地区特殊对待,解决办法:可以将账号切换成一个美区的,这时“跟踪选项”是可以操作的;或者将手机设置还原成默认设置,这时App启动时也能弹出授权提示框,但只会弹出一次。
收起阅读 »