【公告】uniCloud阿里云服务空间云函数计费规则调整通知
尊敬的uniCloud开发者,您好!
为提升资源调度效率与服务稳定性,阿⾥云函数计算(FC)已于2025年12⽉09⽇起对计费规则进⾏全⽹升级,详见阿里云官网公告。
uniCloud阿里云服务空间的云函数功能基于 FC 构建,将同步调整相关计费逻辑。本次调整主要涉及云函数资源使用量(GBs)的最低计费规则,旨在保障所有⽤户公平、⾼效地使⽤云资源。
变更内容
阿里云提供自公告日起两个月的缓冲期,即⾃2026年3月16日开始,阿里云服务空间云函数的资源使用量(GBs)费⽤计算⽅式将做如下调整:
新增⼩时级最低消费规则
- 系统在计算每⽇账单时,会先按“单个函数 + ⼩时”维度评估资源用量消耗。
- 若某函数在某⼀⼩时内产⽣了资源用量消耗(即 GBs > 0),则该⼩时对应的资源用量费⽤不低于 0.01 元。
- 若实际消耗 ≥ 0.01 元,按实计费;
- 若实际消耗 < 0.01 元,则按 0.01 元 计收。
- 未运⾏的函数不参与计费,仍可实现“零成本”运⾏。
包年包月套餐、按量计费两种不同计费方式服务空间的具体体现:
- 按量计费:阿里云仍以天为单位聚合展示⽤量和费⽤。新规则仅在后台计费引擎中按“函数+⼩时”应⽤最低消费,最终结果合并计⼊每⽇账单。
- 包年包月:套餐内的云函数资源用量 (GBs) 将按照新规进行累加,不足 0.01 元的用量按 0.01 元折算GBs,反之则按实际用量。比如按量计费 1GBs 定价 0.000110592 元,最低消费 0.01 元的话,最终换算成GBs:0.01/0.00011059290≈90GBs
重要说明:此最低消费仅针对云函数资源使用量(GBs),不影响云函数调⽤次数、出⽹流量等其他计费项。
对您的影响
多数⽤户不受显著影响
- 如果您的函数调⽤频率正常、单次执⾏资源消耗合理,账单基本⽆变化。
- 若函数在某⼩时内未被调⽤或未产⽣资源用量消耗,不会触发最低消费,也不会产⽣任何费⽤。
低频/极低消耗场景产⽣⼩额费⽤
- 经统计,很多⽤户存在部分函数处于极低频调⽤状态(如每天仅调⽤⼏次,且每次执⾏时间极短、内存占⽤极⼩)。
- 在新规则下,这些函数若在某⼩时内有运⾏记录,即使实际消耗远低于 1 分钱,也将按0.01 元/⼩时/函数 计费,并累加⾄当⽇总费⽤中。
重要说明
- ⽆需任何操作:系统将⾃动应⽤新计费规则,您⽆需⼿动配置或迁移。
- 历史账单不受影响:2026年3⽉16⽇前产⽣的费⽤,仍按原规则计费。
FAQ
- 我还能实现“零成本”运⾏吗?
完全可以!只要函数在某⼩时内未被调⽤,和以前一样不会产⽣任何费⽤。
- 最低消费是否适⽤于所有计费项?
仅适⽤于云函数资源用量(GBs)。云函数调⽤次数、出⽹流量等仍按实际⽤量计费,⽆最低消费限制。
- 我该如何降低潜在的⼩额费⽤?
建议:
- 合并功能相似的低频函数,减少函数总数;
- 定期清理⻓期未使⽤的测试/废弃函数;
- 对于必须保留的低频函数,可接受其产⽣少量费⽤(通常每⽉仅⼏⽑⾄⼏元)。
当然,如果您有很多云函数同时被低频调用的场景且无法合并云函数,您也可以将类似的业务迁移至支付宝云或腾讯云,感谢您⼀直以来对 uniCloud 的信任与⽀持。
收起阅读 »uni-pay支付
项目代码一直没动,今天突然发现微信小程序和微信公众号无法进行支付了,报错:[uni-pay-co]:53001:responsesignature verification failed,
排查显示uni-pay-co函数,orderInfo = await uniPayInstance.getOrderInfo(getOrderInfoParam); 获取订单的方法突然开始报错了,什么问题呢??
项目代码一直没动,今天突然发现微信小程序和微信公众号无法进行支付了,报错:[uni-pay-co]:53001:responsesignature verification failed,
排查显示uni-pay-co函数,orderInfo = await uniPayInstance.getOrderInfo(getOrderInfoParam); 获取订单的方法突然开始报错了,什么问题呢??
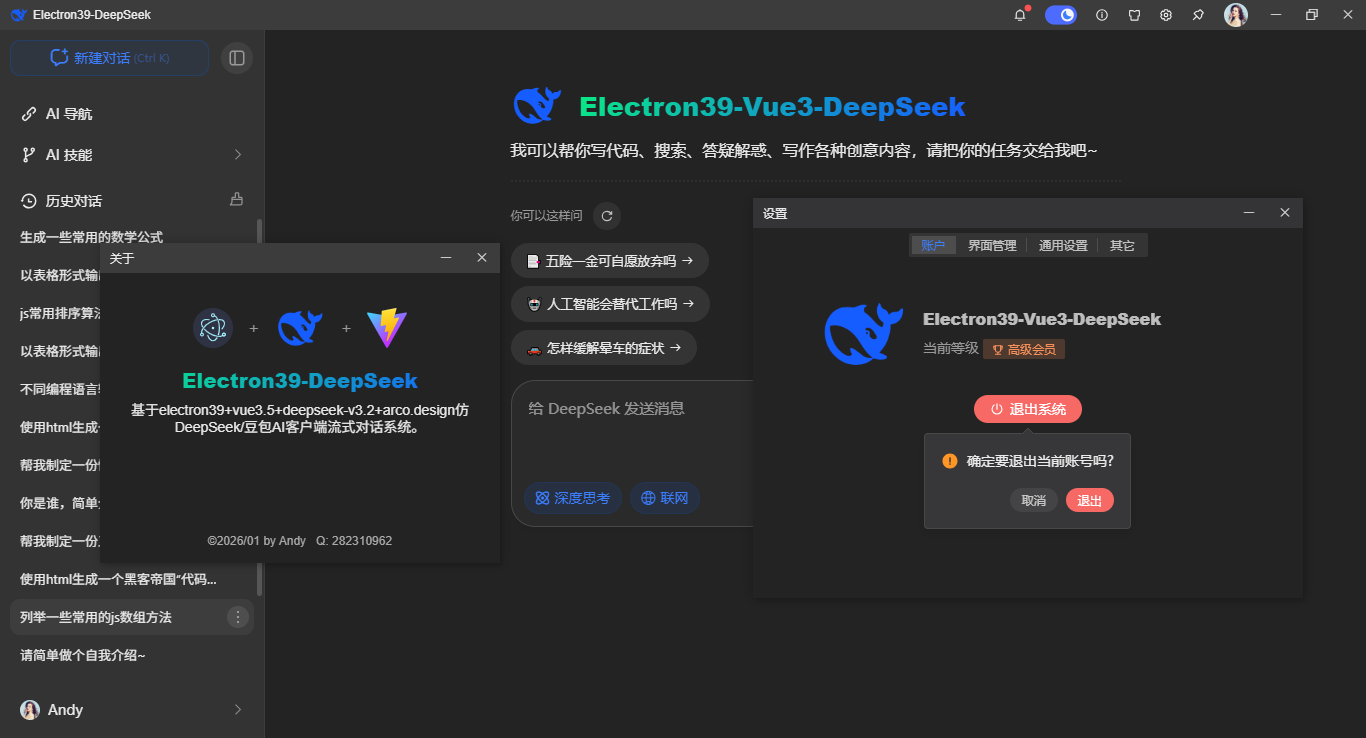
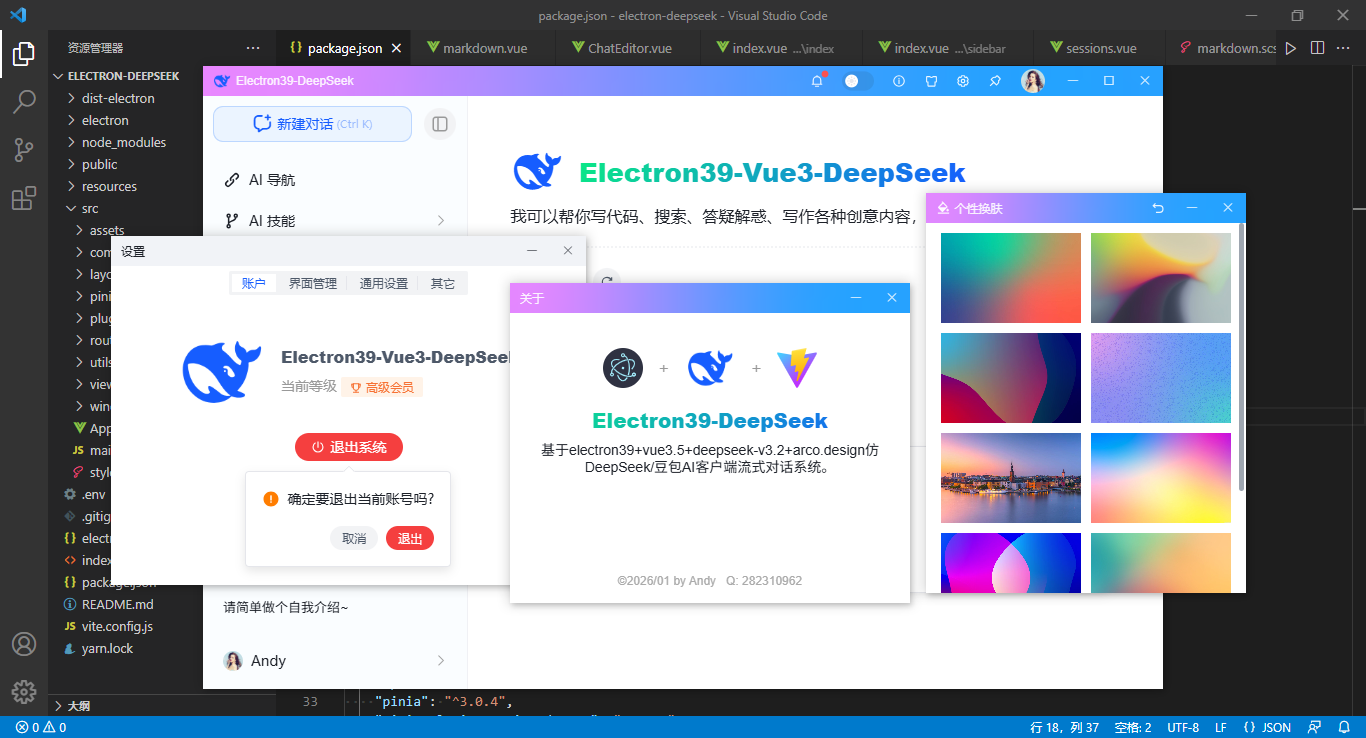
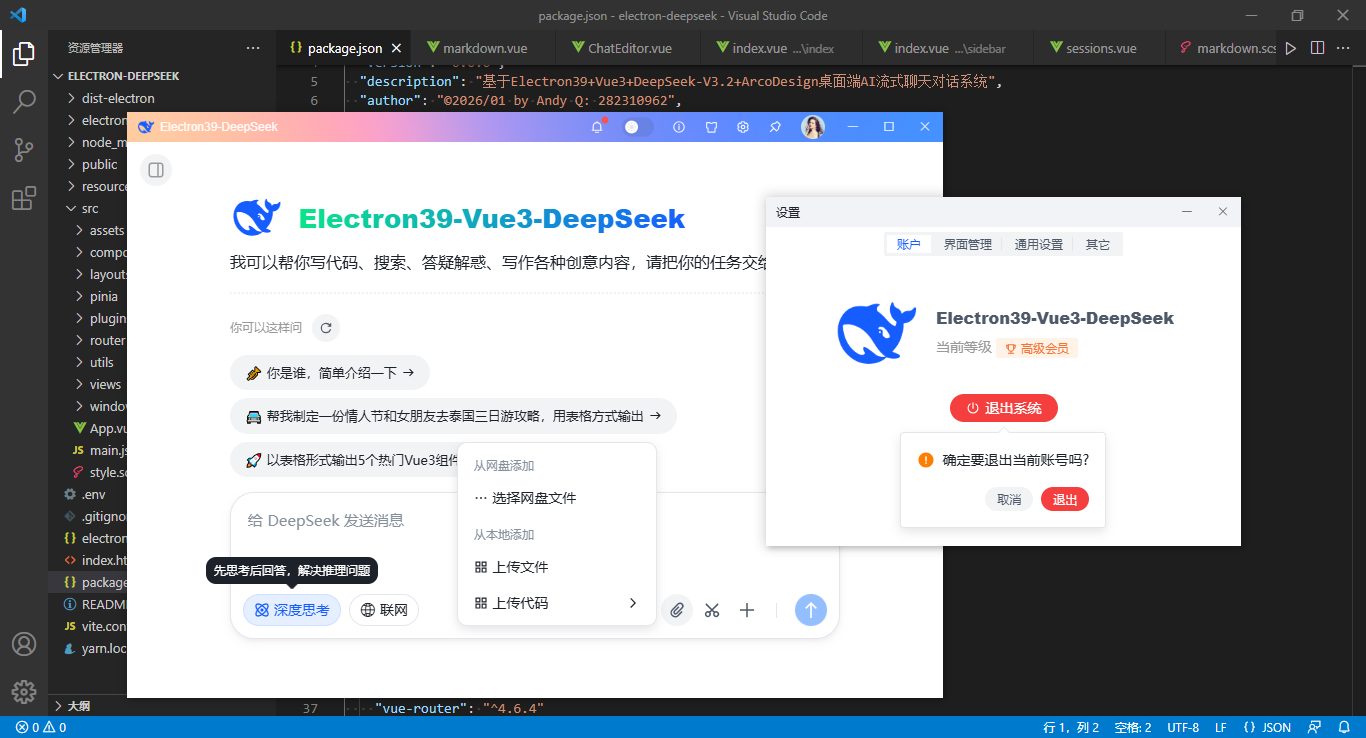
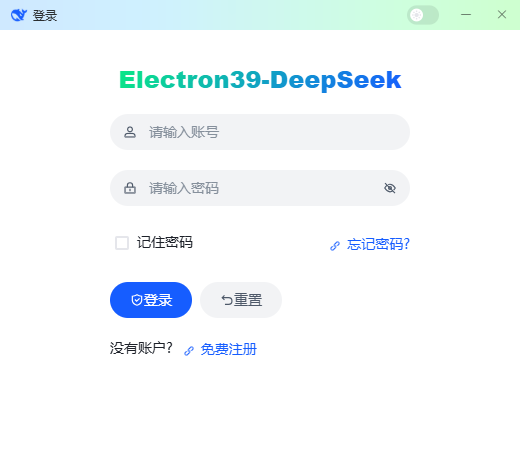
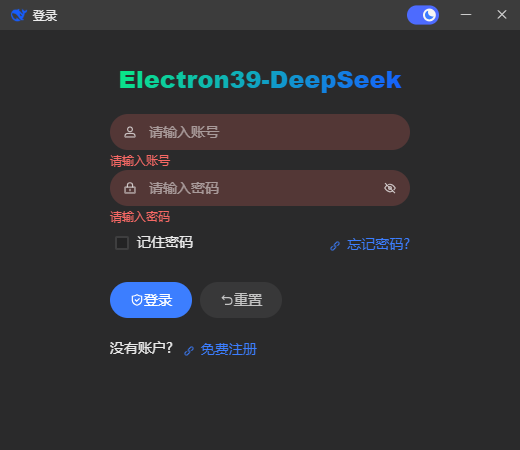
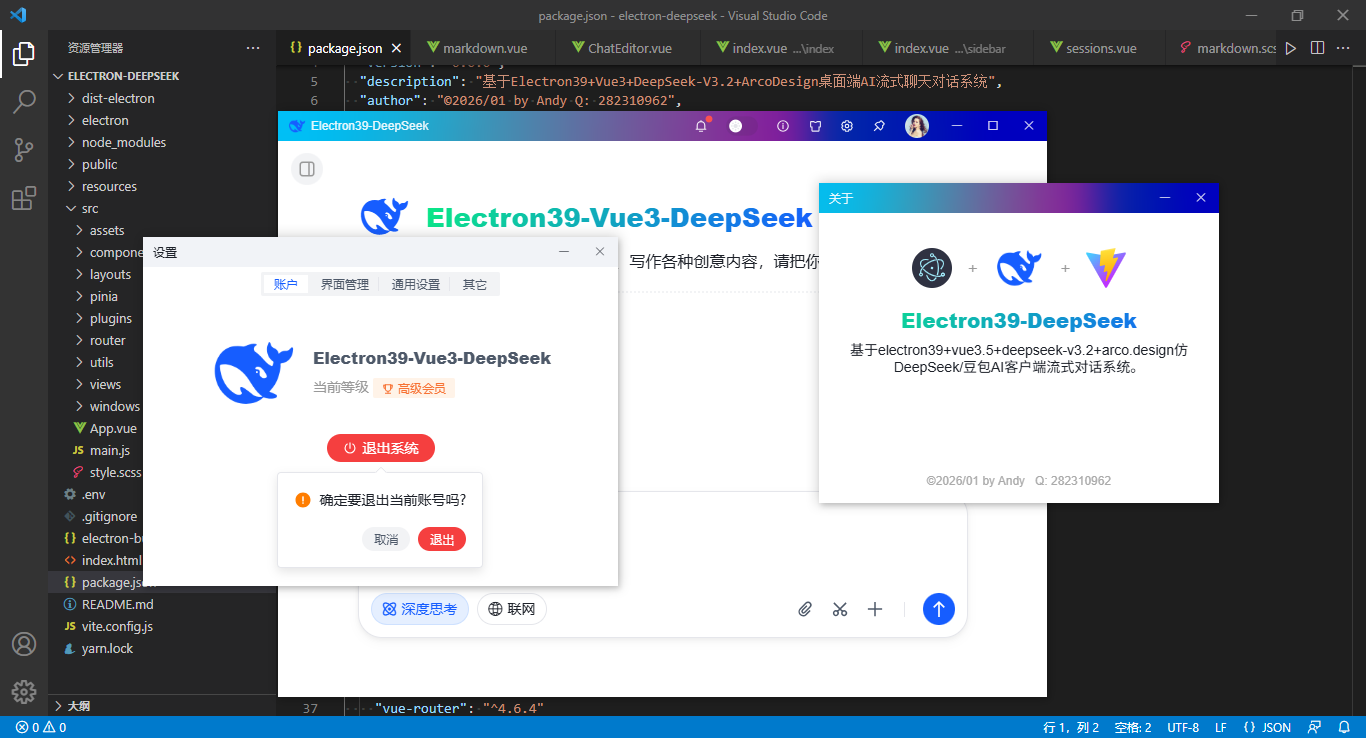
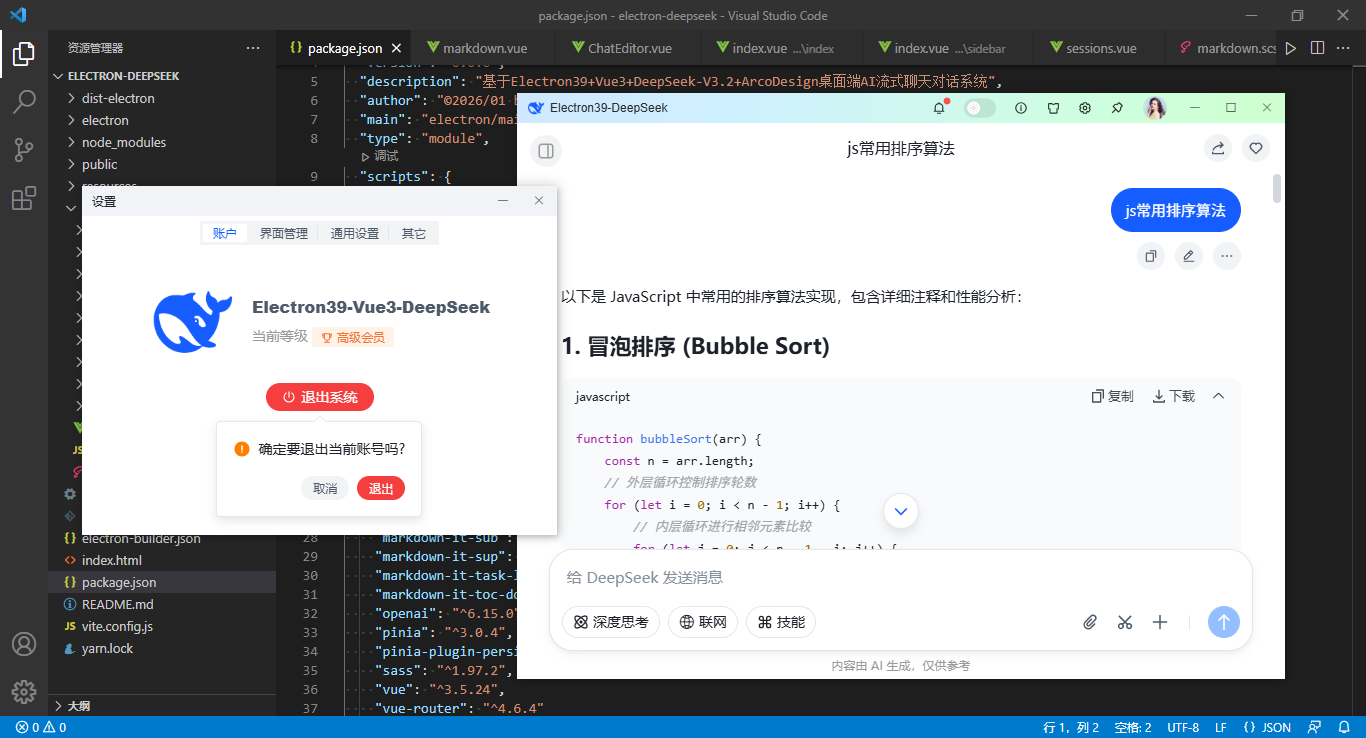
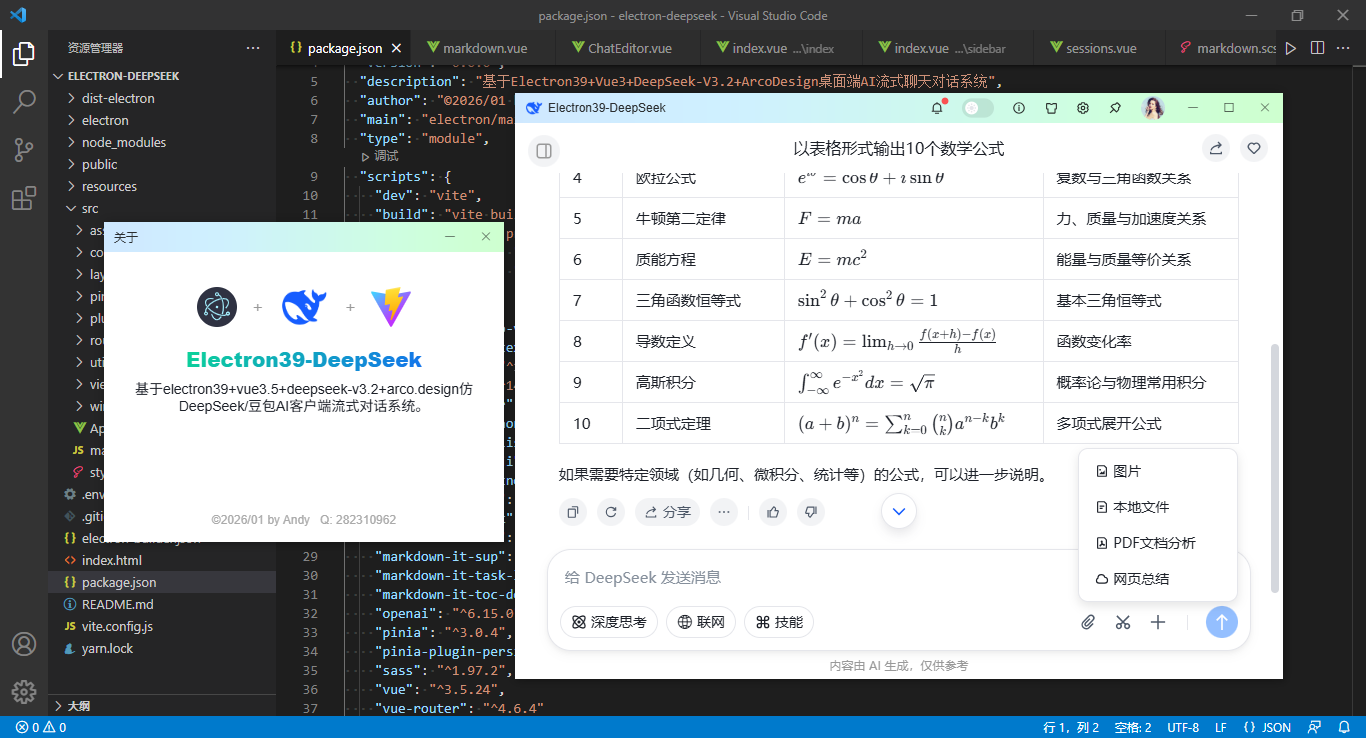
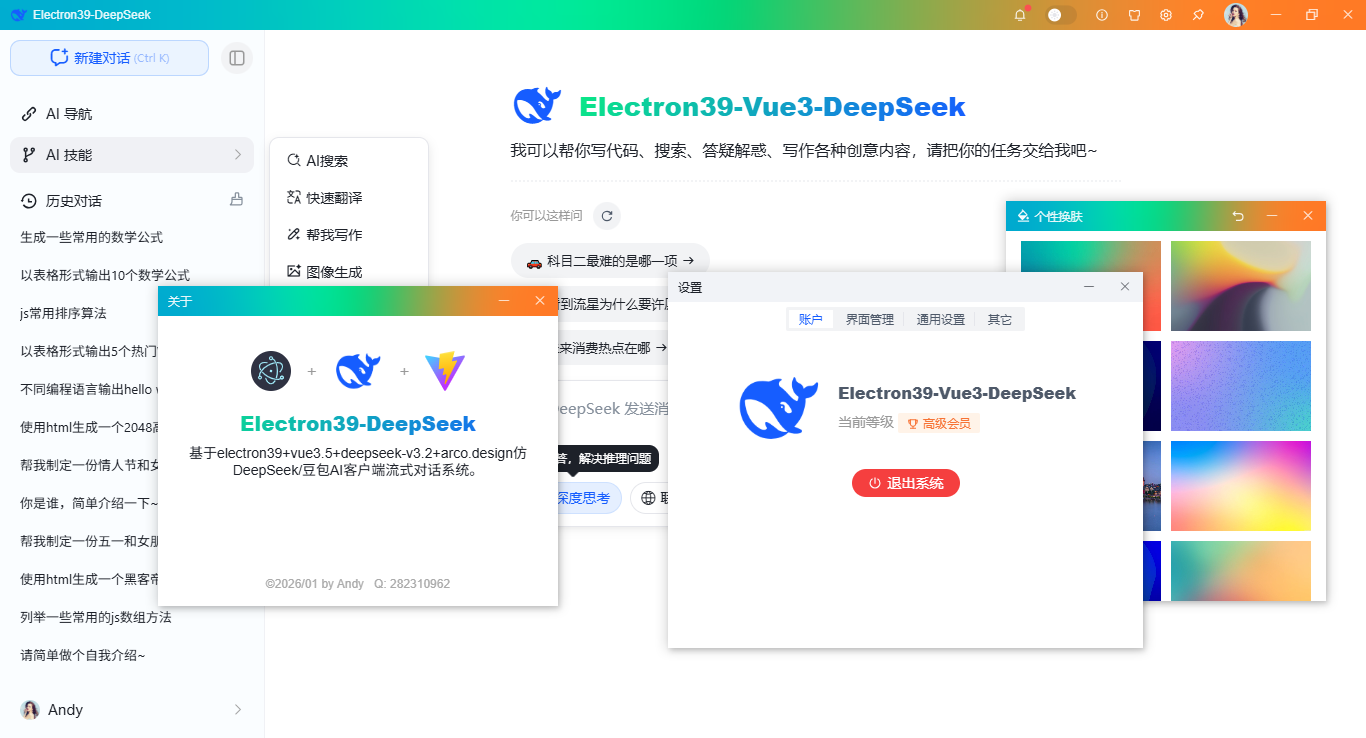
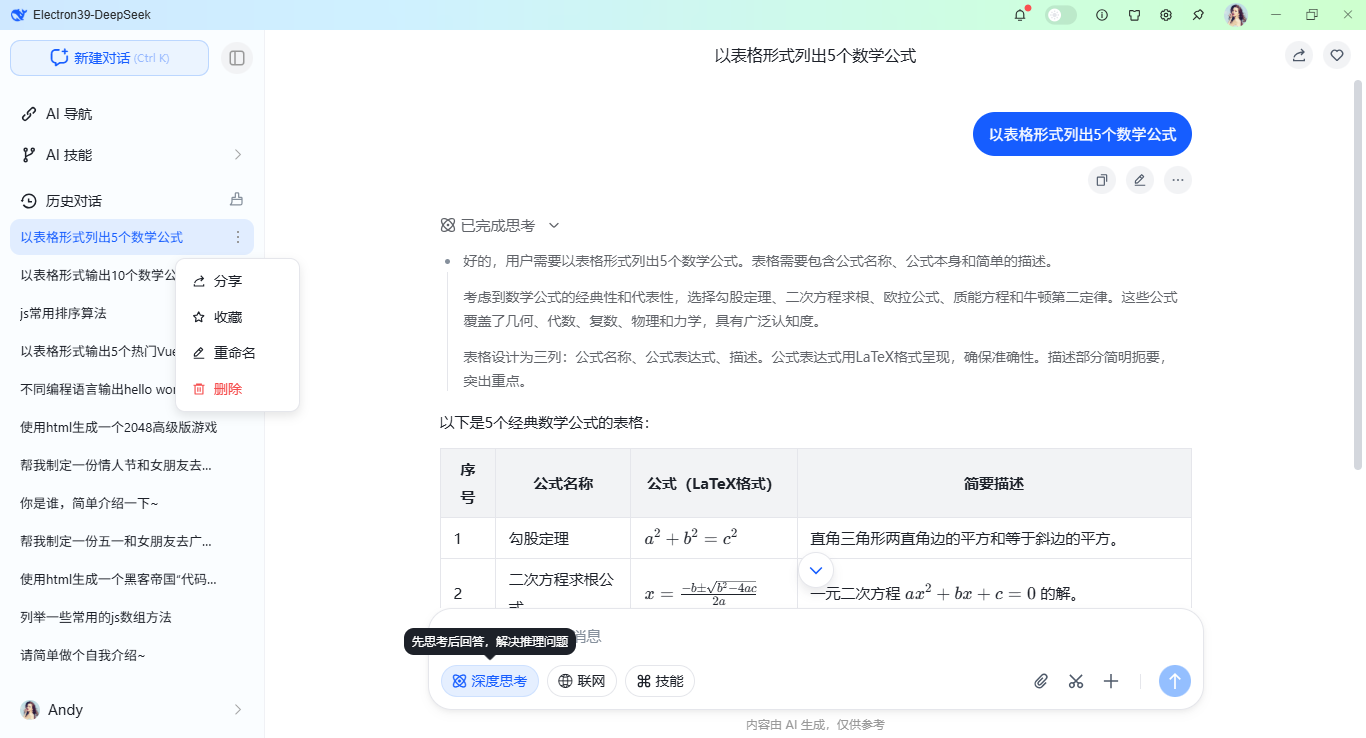
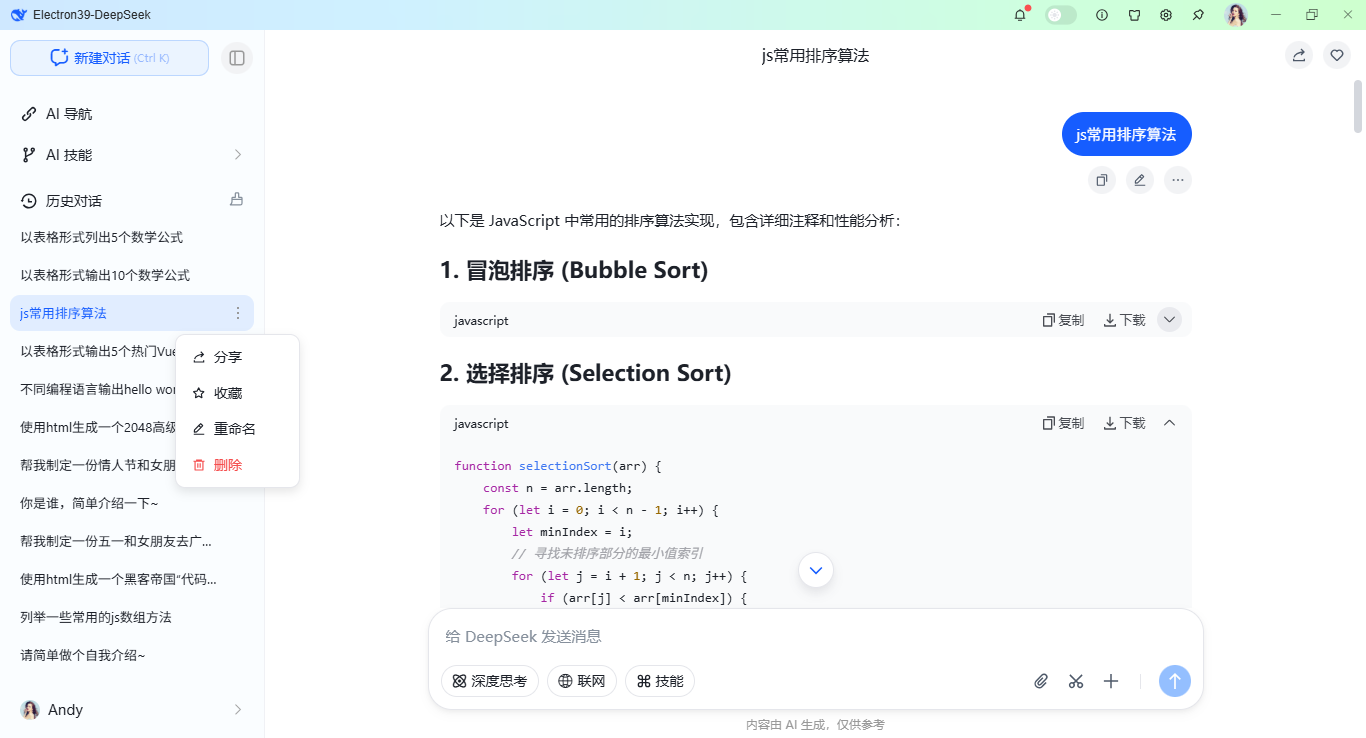
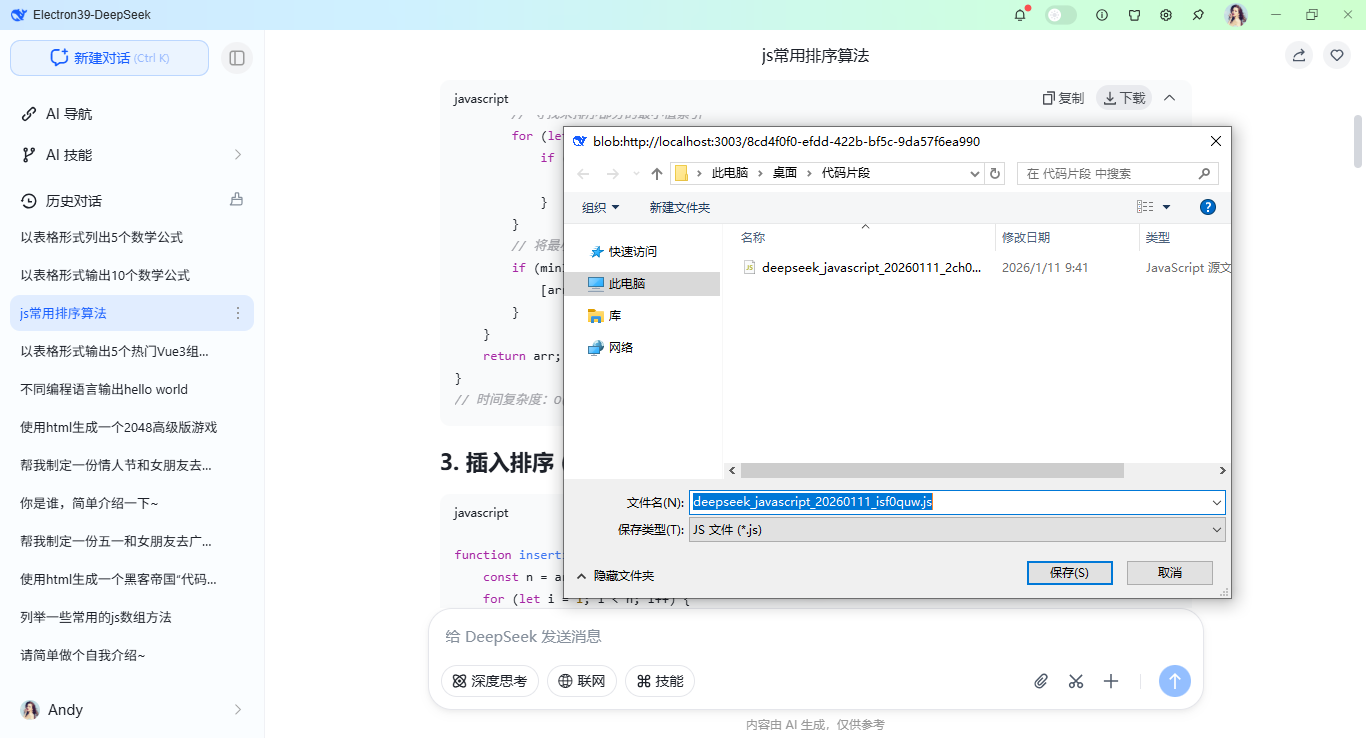
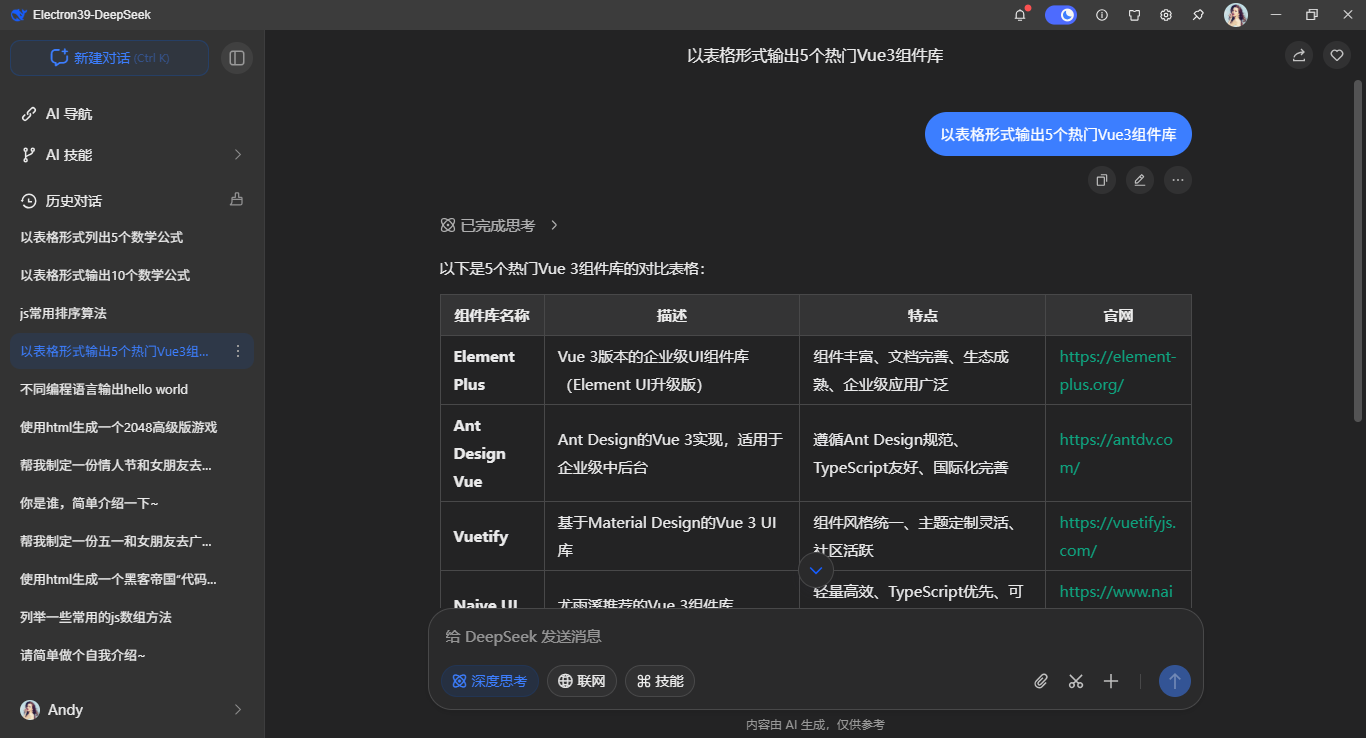
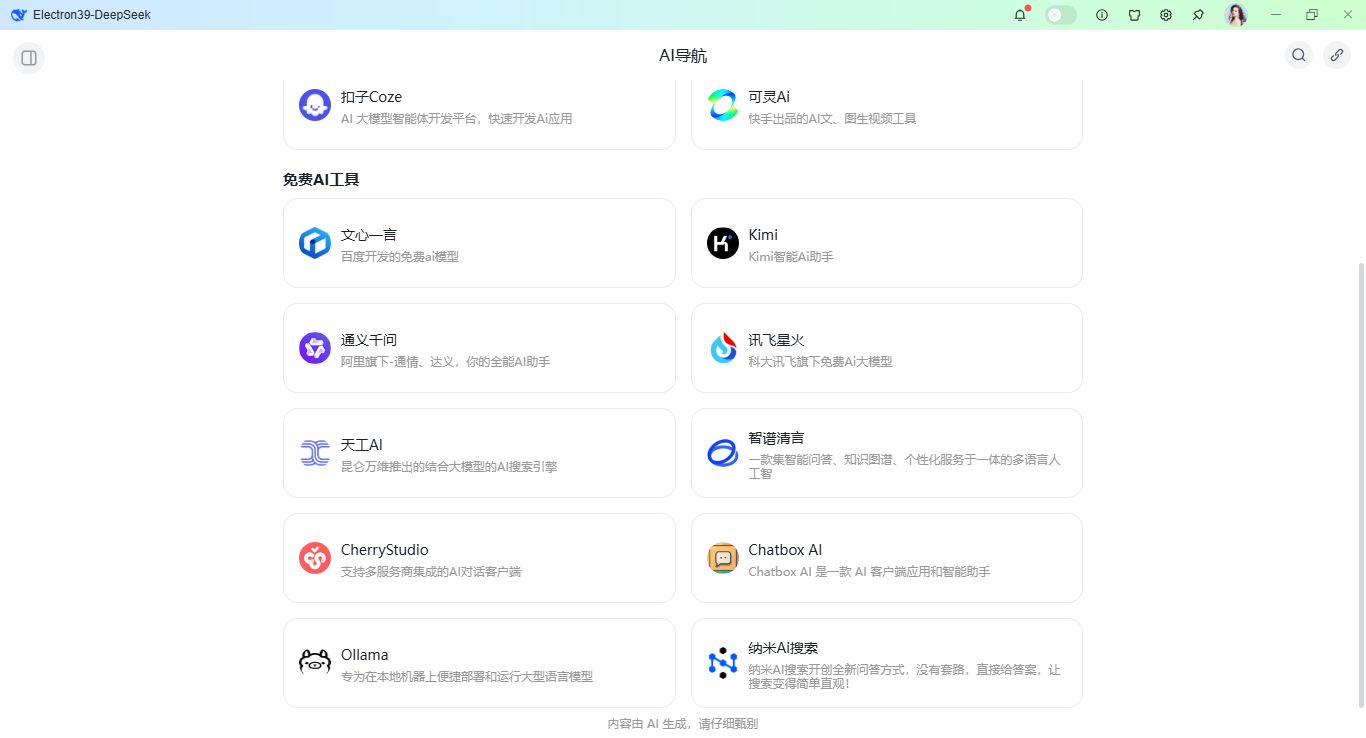
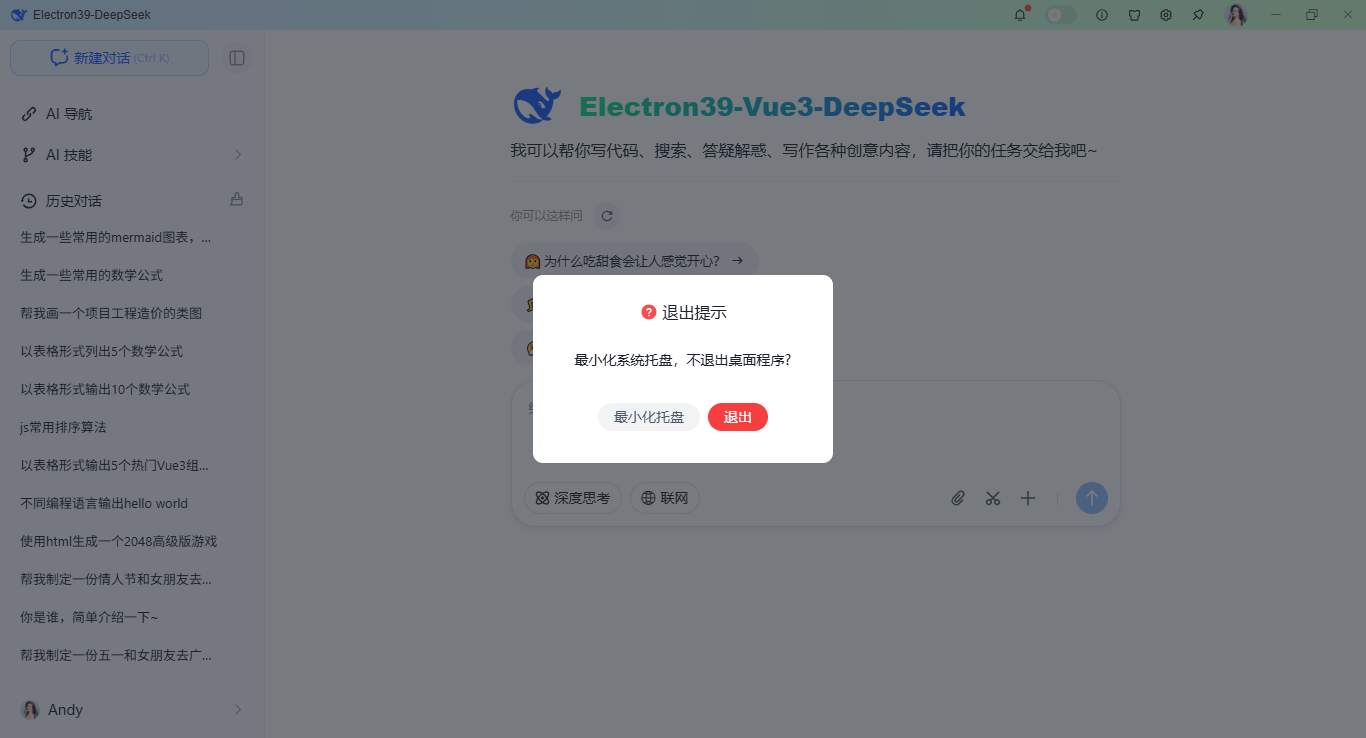
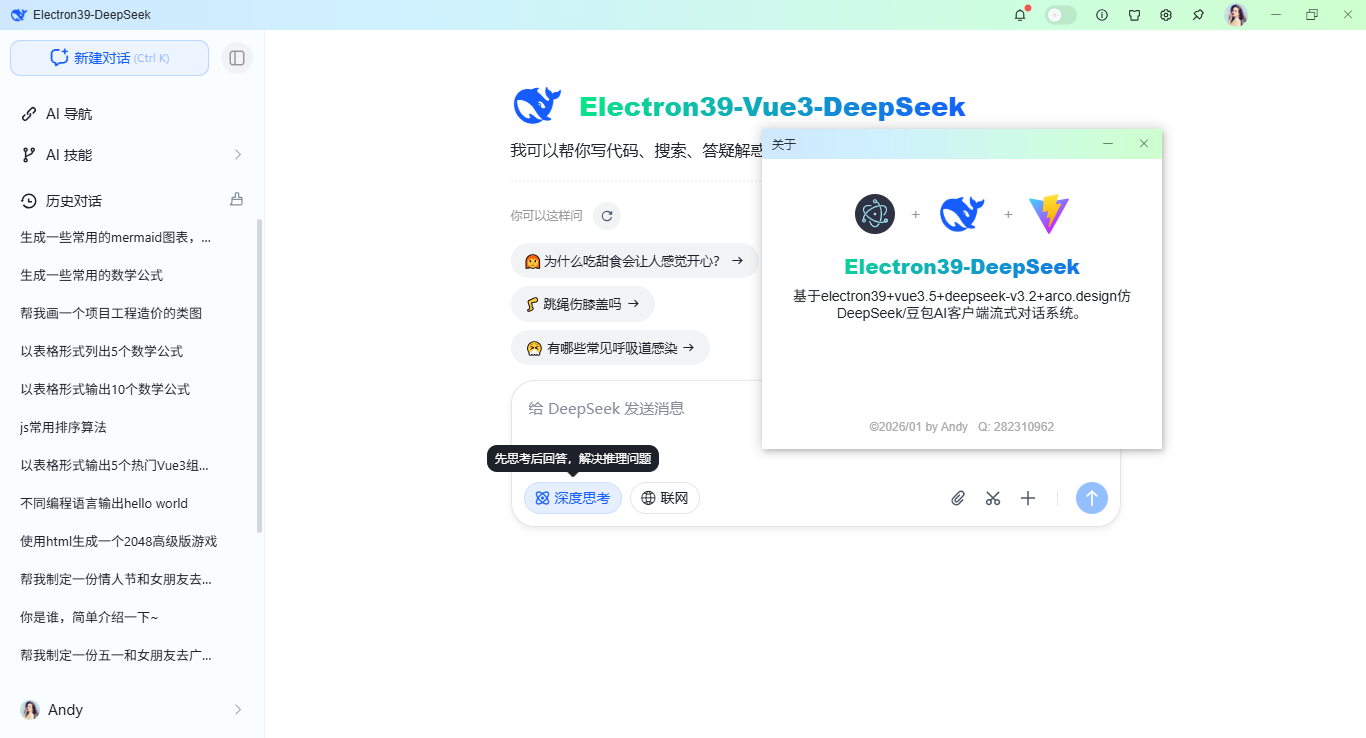
基于vue3+vite7.2+electron39.2仿写deepseek电脑端ai流式对话应用
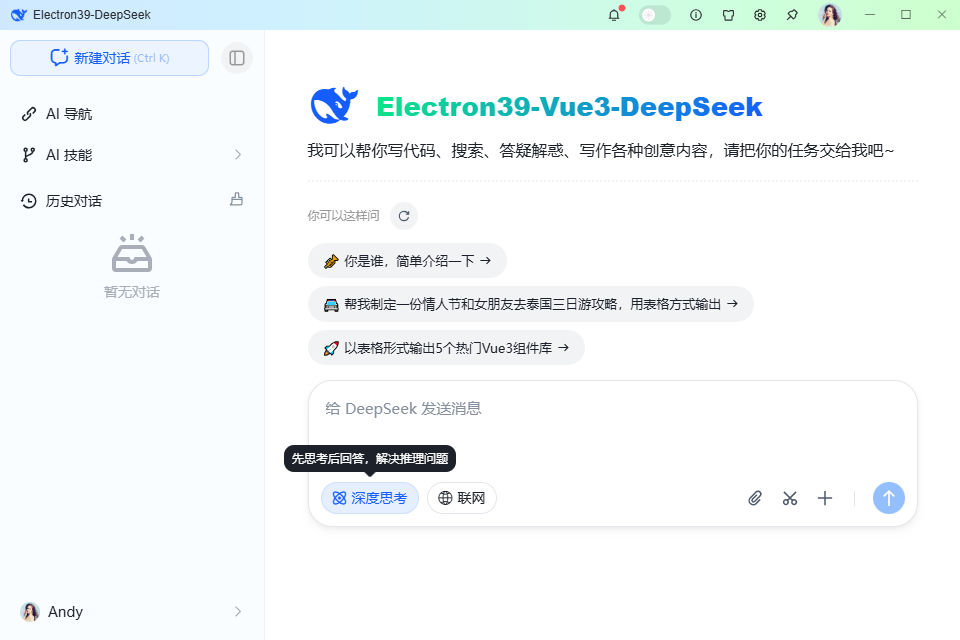
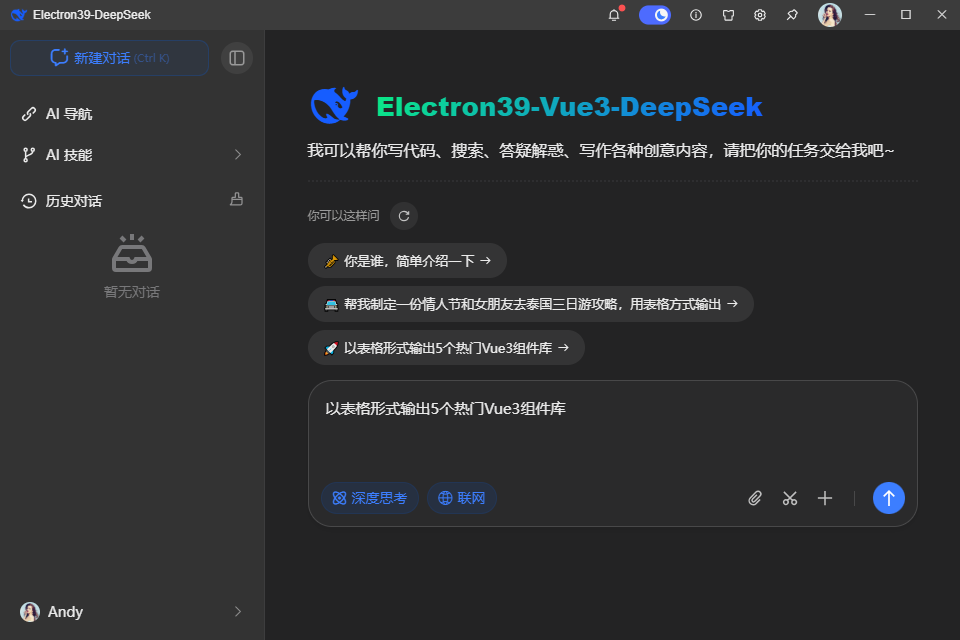
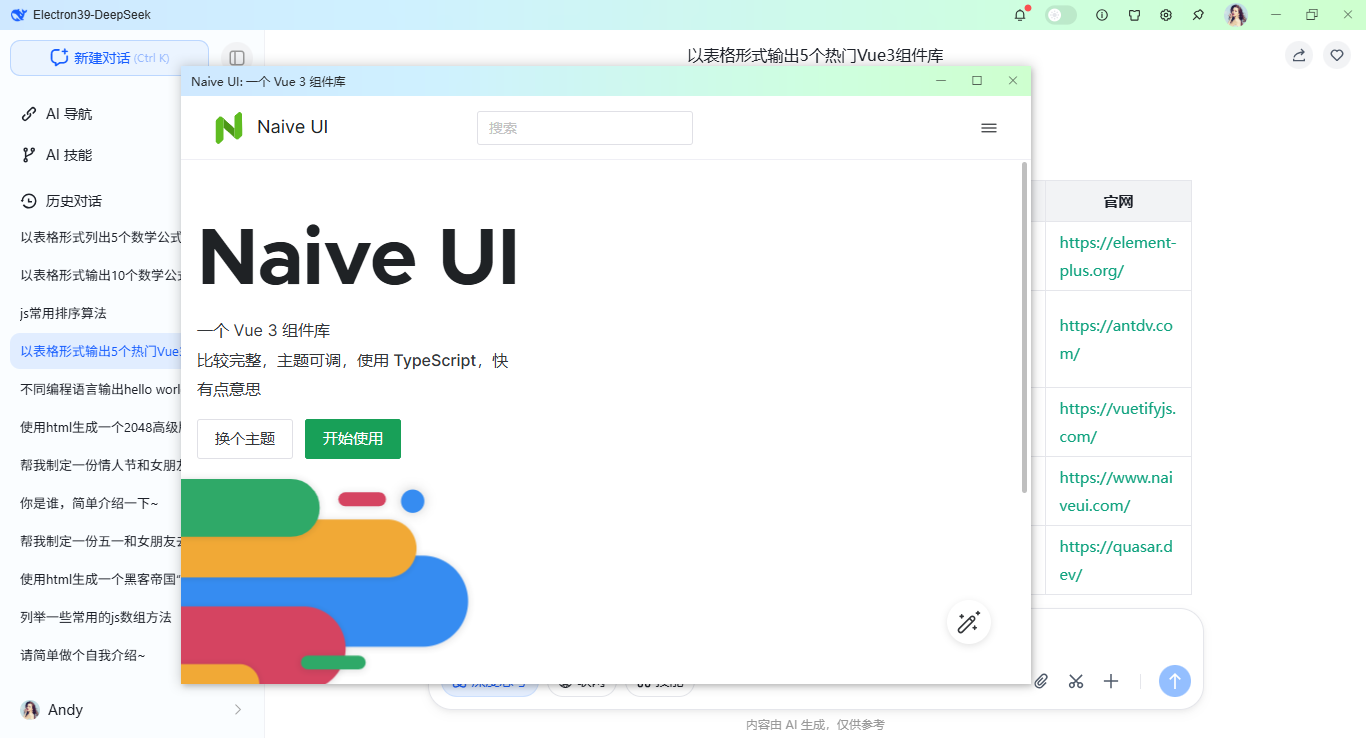
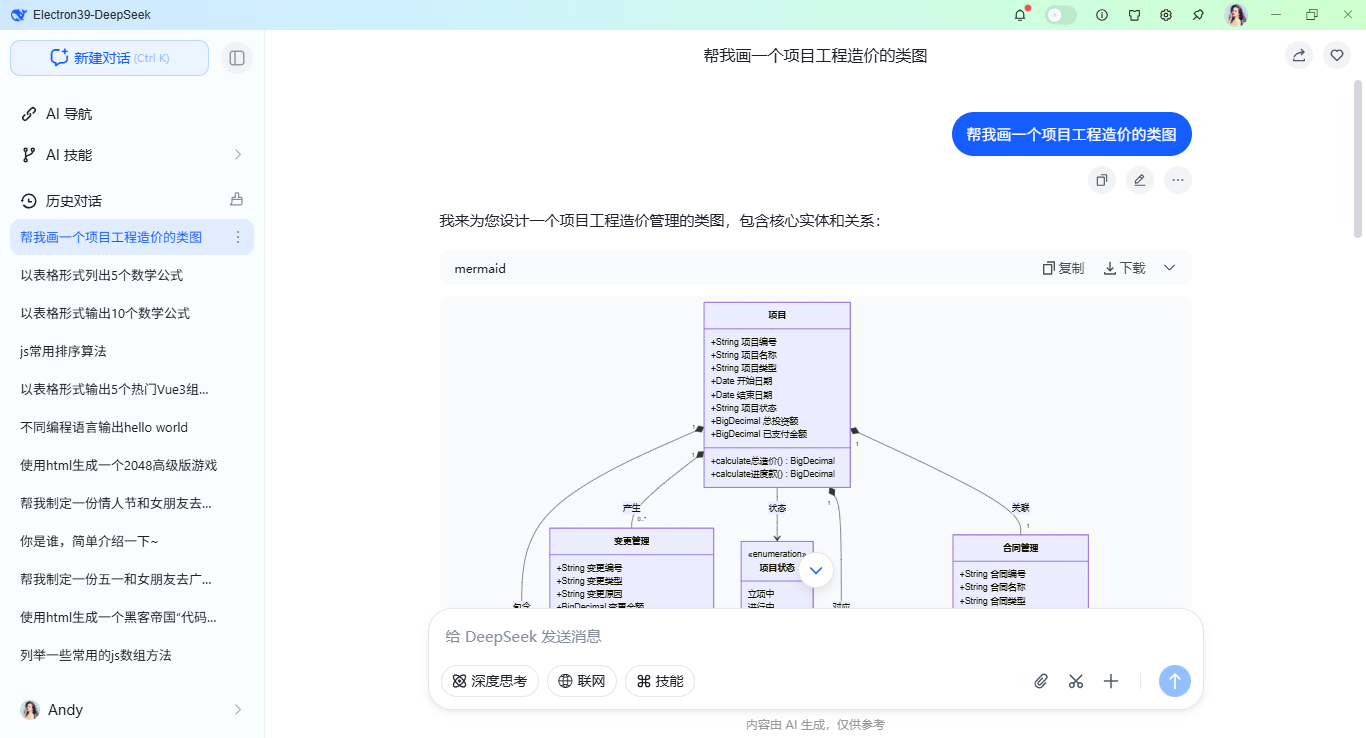
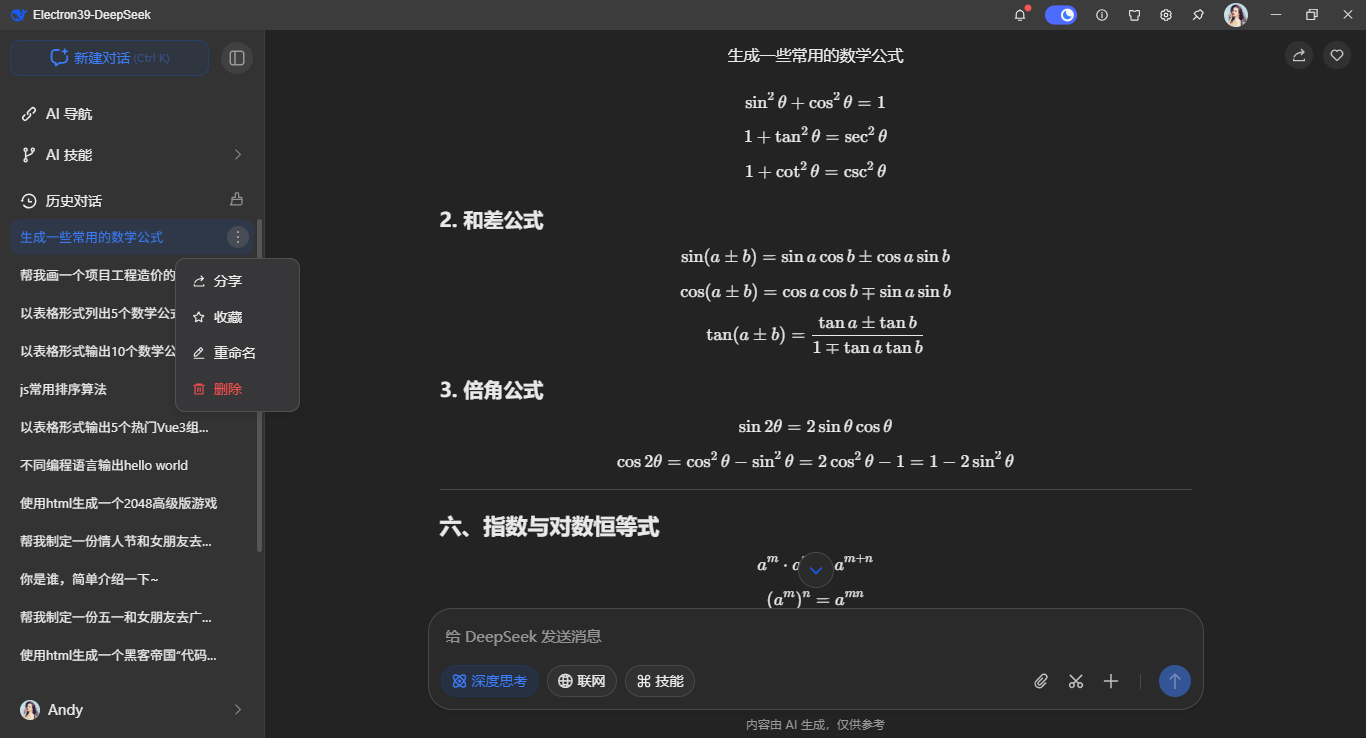
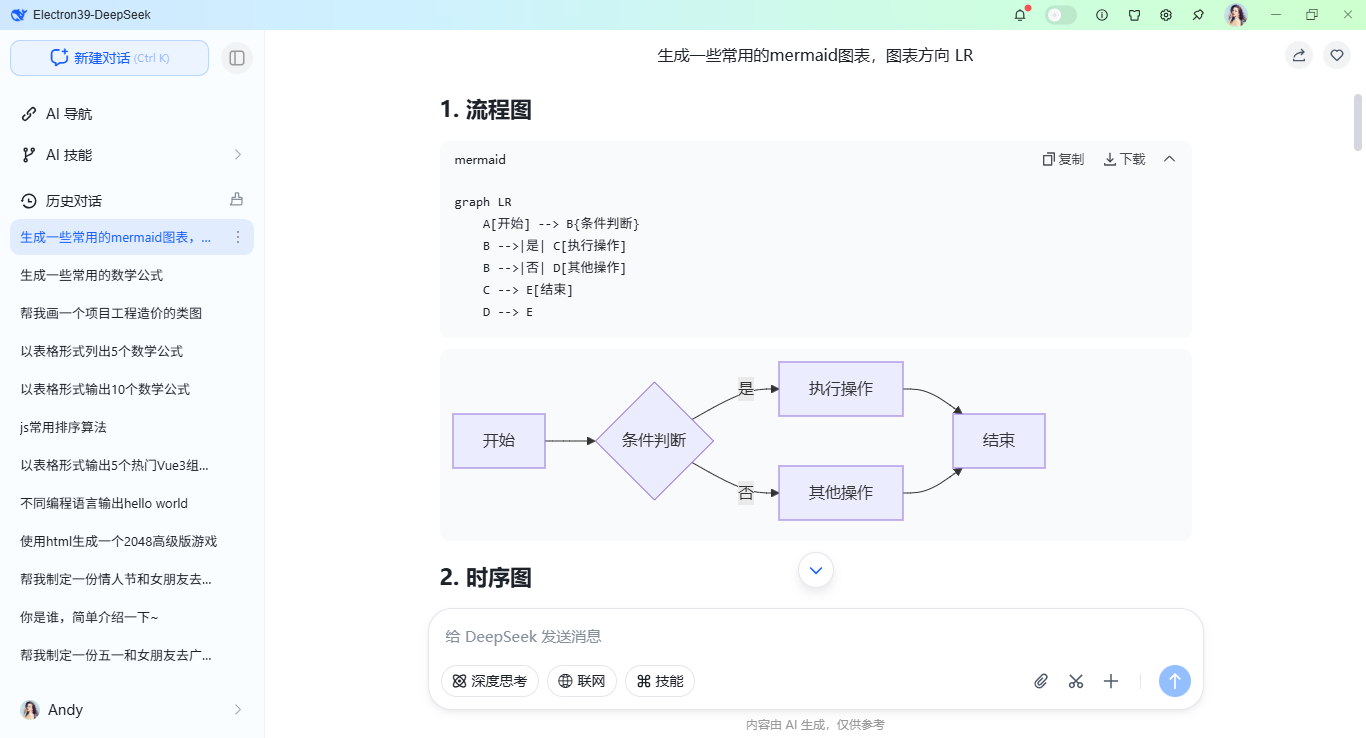
vue3-electron39-ai:2026款最新原创跨平台electron39+vite7.2+vue3 setup+pinia3+arco-design+deepseek api构建桌面版AI聊天系统。集成了深度思考、latex公式、mermaid图表解析、本地存储对话等功能。

项目技术知识
- 前端框架:vite^7.2.4+vue^3.5.24+vue-router^4.6.4
- 跨平台框架:electron^39.2.7
- 大模型框架:DeepSeek-V3.2 + OpenAI
- 组件库:arco-design^2.57.0
- 状态插件:pinia^3.0.4
- 会话缓存:pinia-plugin-persistedstate^4.7.1
- 高亮插件:highlight.js^11.11.1
- markdown渲染插件:markdown-it^14.1.0
- 打包工具:electron-builder^26.0.12
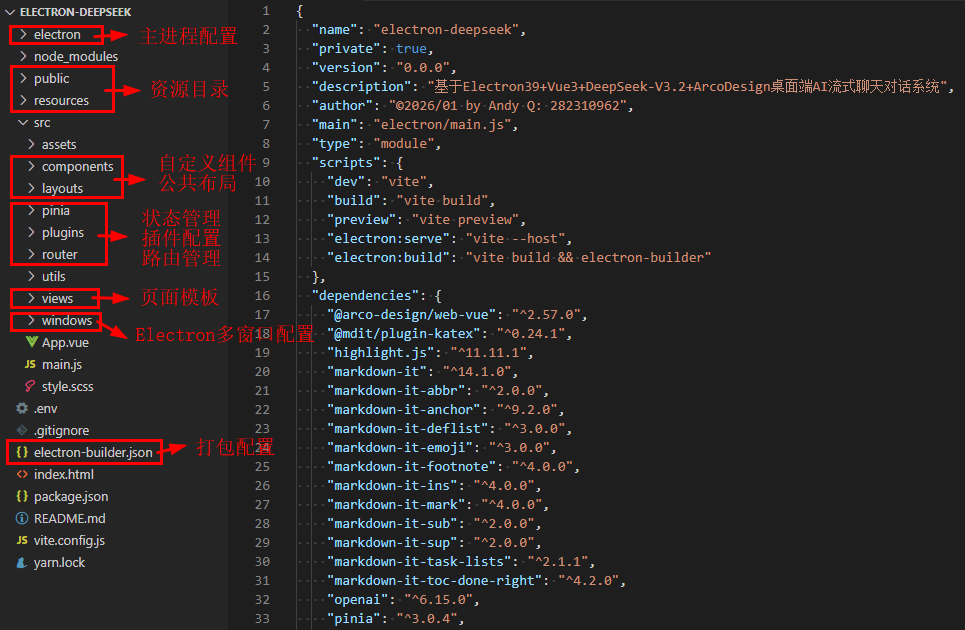
项目结构框架目录
基于最新跨平台框架electron39+vite7创建项目模板,调用deepseek-v3.2模型,采用vue3 setup语法编码。
Electron39-DeepSeek-Vue3AI客户端ai系统已经更新到我的原创作品小集。
了解更多项目详细介绍,可以看看下面这篇文章。
electron39-vue3ai电脑端AI模板|electron39+deepseek+vite7聊天ai应用
热文推荐
原创uniapp+vue3+deepseek+uv-ui跨端实战仿deepseek/豆包流式ai聊天对话助手。
Vite7+DeepSeek网页版Ai助手|vue3+arco网页web流式生成ai聊天问答系统
vite7+deepseek流式ai模板|vue3.5+deepseek3.2+markdown打字输出ai助手
Electron38-Wechat电脑端聊天|vite7+electron38仿微信桌面端聊天系统
Electron38-Vue3OS客户端OS系统|vite7+electron38+arco桌面os后台管理
electron38-admin桌面端后台|Electron38+Vue3+ElementPlus管理系统
最新版uniapp+vue3+uv-ui跨三端短视频+直播+聊天【H5+小程序+App端】
最新版uni-app+vue3+uv-ui跨三端仿微信app聊天应用【h5+小程序+app端】
Tauri2.9+Vue3桌面版OS系统|vite7+tauri2+arcoDesign电脑端os后台模板
Tauri2.8+Vue3聊天系统|vite7+tauri2+element-plus客户端仿微信聊天程序
Tauri2-Vite7Admin客户端管理后台|tauri2.9+vue3+element-plus后台系统
Flutter3-MacOS桌面OS系统|flutter3.32+window_manager客户端OS模板
最新研发flutter3.27+bitsdojo_window+getx客户端仿微信聊天Exe应用
最新版Flutter3.32+Dart3.8跨平台仿微信app聊天界面|朋友圈
flutter3-deepseek流式AI模板|Flutter3.27+Dio+DeepSeeek聊天ai助手
vue3-electron39-ai:2026款最新原创跨平台electron39+vite7.2+vue3 setup+pinia3+arco-design+deepseek api构建桌面版AI聊天系统。集成了深度思考、latex公式、mermaid图表解析、本地存储对话等功能。
项目技术知识
- 前端框架:vite^7.2.4+vue^3.5.24+vue-router^4.6.4
- 跨平台框架:electron^39.2.7
- 大模型框架:DeepSeek-V3.2 + OpenAI
- 组件库:arco-design^2.57.0
- 状态插件:pinia^3.0.4
- 会话缓存:pinia-plugin-persistedstate^4.7.1
- 高亮插件:highlight.js^11.11.1
- markdown渲染插件:markdown-it^14.1.0
- 打包工具:electron-builder^26.0.12
项目结构框架目录
基于最新跨平台框架electron39+vite7创建项目模板,调用deepseek-v3.2模型,采用vue3 setup语法编码。
Electron39-DeepSeek-Vue3AI客户端ai系统已经更新到我的原创作品小集。
了解更多项目详细介绍,可以看看下面这篇文章。
electron39-vue3ai电脑端AI模板|electron39+deepseek+vite7聊天ai应用
热文推荐
原创uniapp+vue3+deepseek+uv-ui跨端实战仿deepseek/豆包流式ai聊天对话助手。
Vite7+DeepSeek网页版Ai助手|vue3+arco网页web流式生成ai聊天问答系统
vite7+deepseek流式ai模板|vue3.5+deepseek3.2+markdown打字输出ai助手
Electron38-Wechat电脑端聊天|vite7+electron38仿微信桌面端聊天系统
Electron38-Vue3OS客户端OS系统|vite7+electron38+arco桌面os后台管理
electron38-admin桌面端后台|Electron38+Vue3+ElementPlus管理系统
最新版uniapp+vue3+uv-ui跨三端短视频+直播+聊天【H5+小程序+App端】
最新版uni-app+vue3+uv-ui跨三端仿微信app聊天应用【h5+小程序+app端】
Tauri2.9+Vue3桌面版OS系统|vite7+tauri2+arcoDesign电脑端os后台模板
Tauri2.8+Vue3聊天系统|vite7+tauri2+element-plus客户端仿微信聊天程序
Tauri2-Vite7Admin客户端管理后台|tauri2.9+vue3+element-plus后台系统
Flutter3-MacOS桌面OS系统|flutter3.32+window_manager客户端OS模板
最新研发flutter3.27+bitsdojo_window+getx客户端仿微信聊天Exe应用
最新版Flutter3.32+Dart3.8跨平台仿微信app聊天界面|朋友圈
flutter3-deepseek流式AI模板|Flutter3.27+Dio+DeepSeeek聊天ai助手
nvue页面内单文件组件的国际化
先上场景案例:
nvue 页面中的弹窗组件 up-popup, 初始状态不显示 , 使用nvue国际化方案, 页面进入后, 不打开弹窗前就修语言, 回到该页面,打开弹窗, 则显示的是 修改前的语言
uni-i18n源代码原因:t 是惰性的
let t = (key, values) => {
        if (typeof getApp !== 'function') {
            // app view
            /* eslint-disable no-func-assign */
            t = function (key, values) {
                return i18n.t(key, values);
            };
        }
        else {
            let isWatchedAppLocale = false;
            t = function (key, values) {
                const appVm = getApp().$vm;

                if (appVm) {
                    // 触发响应式
                    appVm.$locale;
                    if (!isWatchedAppLocale) {
                        isWatchedAppLocale = true;
                        watchAppLocale(appVm, i18n);
                    }
                }
                return i18n.t(key, values);
            };
        }
        return t(key, values);
    };
我的解决方案:预热 t, 打破惰性
方案:
onMounted(() => {
    t('appName');
  });
封装 hook
import { onMounted } from 'vue';

/**
 * @name useNvueI18nWarmup
 * @description 一个旨在处理 nvue 页面中 i18n 响应式问题的组合式函数, 预热国际化 t,打破 t 的惰性。
 */
export function useNvueI18nWarmup(t: (key: string) => string) {
  onMounted(() => {
    t('appName');
  });
}
vue3组合式使用
import { useNvueI18nWarmup } from '@/common/useNvueI18nWarmup';
import { initVueI18n } from '@dcloudio/uni-i18n'

  // const messages = {} 此处内容省略,和 vue 全局引入的写法一致

const { t } = initVueI18n(messages)

useNvueI18nWarmup(t);
Uni app x 打包 apk 植物人也会
🟢🟢 点个关注不迷路🟢🟢 (≧◡≦) ♡
🥺拜托了欧尼酱,阿里嘎多 Thank you 高马斯密达💖
👇👇⬇️⬇️
| 哔哩哔哩|CSDN|Github|Gitcode|
| 传送门 | 传送门 | 传送门 | 传送门 |
> 一般CSDN会第一时间更新图文教程,后续会上传源码到Github和Gitcode上,最后再录视频教程发到哔哩哔哩,如果没时间的话可能不会录视频。
Uni App X 安卓本地离线打包
介绍:Uni App X 安卓本地离线打包喂饭教程
效果图片
🟢温馨提示:如果图片无法加载请前往国内Gitcode镜像仓库


代码地址
🟢温馨提示:如果图片无法加载请前往国内Gitcode镜像仓库
Github:https://github.com/BrokenDreamTech/UniAppxPack
Gitcode:https://gitcode.com/BrokenDreamTech/UniAppxPack
特性
Github Action一键打包,无需配置Android Studio配置
压缩混淆配置,打包"Hello" apk大小:7.7MB
HBuilder X 4.85
HBuilder X 4.87
环境
HBuilder X 4.87
Android Studio 2025.2.2
教程
视频教程
传送门:https://www.bilibili.com/video/BV1yW6oBeEqy
图文教程
- 使用HBuilder X打开你的uni-app x项目点击"工具栏"-"发行"-"App-Android/iOS-本地打包"-"生成本地App打包资源"
- 因为"此项目"已有一个示例uni-app x,所以先把示例项目资源删除(不要乱删文件):
- 删除"此项目"的"app/src/main/assets/apps"文件夹下的所有
- 删除"此项目"的"app/src/main/java"文件夹下的:"index.kt"文件和"pages"文件夹
- 将生成的" UNI XXXXXX"文件夹复制到"此项目"的"app/src/main/assets/apps"文件夹下
- 将生成的"uniappx/app-android/src"文件夹下的所有东西复制粘贴到"此项目"的"app/src/main/java"文件夹下
-
使用Android Studio打开"此项目",直接打包即可。
> 打包apk,在"此项目"的根目录打开命令行,执行:gradlew assembleRelease
一键打包 (不建议使用此方案,有构建时长限制,推荐自己按教程在本地打包)
- 下载或fork此项目,将仓库设置为私有(如果你不想公开你的项目),按照教程将uni-app x资源替换为自己的
- 将项目推送到Githab上,点击"Actions"-"Build Release",等待构建完成
- 构建完成后进入详情页,点击下载产物,下载后需解压
鸣谢
https://doc.dcloud.net.cn/uni-app-x/native/download/android.html
🟢🟢 点个关注不迷路🟢🟢 (≧◡≦) ♡
🥺拜托了欧尼酱,阿里嘎多 Thank you 高马斯密达💖
👇👇⬇️⬇️
| 哔哩哔哩|CSDN|Github|Gitcode|
| 传送门 | 传送门 | 传送门 | 传送门 |
> 一般CSDN会第一时间更新图文教程,后续会上传源码到Github和Gitcode上,最后再录视频教程发到哔哩哔哩,如果没时间的话可能不会录视频。
Uni App X 安卓本地离线打包
介绍:Uni App X 安卓本地离线打包喂饭教程
效果图片
🟢温馨提示:如果图片无法加载请前往国内Gitcode镜像仓库


代码地址
🟢温馨提示:如果图片无法加载请前往国内Gitcode镜像仓库
Github:https://github.com/BrokenDreamTech/UniAppxPack
Gitcode:https://gitcode.com/BrokenDreamTech/UniAppxPack
特性
Github Action一键打包,无需配置Android Studio配置
压缩混淆配置,打包"Hello" apk大小:7.7MB
HBuilder X 4.85
HBuilder X 4.87
环境
HBuilder X 4.87
Android Studio 2025.2.2
教程
视频教程
传送门:https://www.bilibili.com/video/BV1yW6oBeEqy
图文教程
- 使用HBuilder X打开你的uni-app x项目点击"工具栏"-"发行"-"App-Android/iOS-本地打包"-"生成本地App打包资源"
- 因为"此项目"已有一个示例uni-app x,所以先把示例项目资源删除(不要乱删文件):
- 删除"此项目"的"app/src/main/assets/apps"文件夹下的所有
- 删除"此项目"的"app/src/main/java"文件夹下的:"index.kt"文件和"pages"文件夹
- 将生成的" UNI XXXXXX"文件夹复制到"此项目"的"app/src/main/assets/apps"文件夹下
- 将生成的"uniappx/app-android/src"文件夹下的所有东西复制粘贴到"此项目"的"app/src/main/java"文件夹下
-
使用Android Studio打开"此项目",直接打包即可。
> 打包apk,在"此项目"的根目录打开命令行,执行:gradlew assembleRelease
一键打包 (不建议使用此方案,有构建时长限制,推荐自己按教程在本地打包)
- 下载或fork此项目,将仓库设置为私有(如果你不想公开你的项目),按照教程将uni-app x资源替换为自己的
- 将项目推送到Githab上,点击"Actions"-"Build Release",等待构建完成
- 构建完成后进入详情页,点击下载产物,下载后需解压
鸣谢
https://doc.dcloud.net.cn/uni-app-x/native/download/android.html
https://doc.dcloud.net.cn/uni-app-x/native/use/android.html
收起阅读 »关于uni-id-co云对象URL化,短信登录无法发送的问题。官方uni-id-pages模板自带的uni-id-co的bug修复
uni-id-pages功能全面,所以思考将自己的应用系统直接使用这个用户体系。
由于uni-id-co目前官方不支持在云对象中直接调用,但官方推荐了HTTP的调用方式,就是云对象URL化。
由于uni-id-co的功能接口太多权限太大,如果直接url化给客户端,肯定很多安全问题 。所以我们可以在自己云对象中,去调用url化的uni-id-co。
根据官方文档需要这3个关键参数: uniPlatform、appId、deviceId
其中deviceId 肯定是从客户端提起过来。这是客户端唯一标识。
uniPlatform直接设为‘web’,
最后一个是appId,就是uni官方的应用Id,但这个简单的appId参数,在短信发送这个功能上折磨了我好久。为避免其他同学也遇到这个需求和问题。所以写下本文。
因为我们在小程序端短信功能一切正常,所以显然容易想到直接让从云对象登录的统一模拟成小程序,也就是把appId设置成小程序的appId,这样跟小程序的用户体系就统一了,这也是需求,因为我们应用系统的用户同时也是小程序的用户。
这是ClientInfo的模拟:
this.customClientInfo = {
uniPlatform: 'web',
appId: 'UNIXXXXXXX',
deviceId: dvid,
locale: 'zh-Hans'
}
这样子的模拟,在云对象中许多其他功能都跑通了,包括账户密码登录等等,但是短信登录确一直报参数错误:appid
下面的传参方式是严格按官方文档要求来的,http请求的Post数据:
const requestData = {
clientInfo: this.customClientInfo,
params: {
mobile: params.mobile,
captcha: params.captcha,
scene: 'login-by-sms',
}
};
通过扒uni-id-co的源码,最终定位了问题出在【 uni-id-co/lib/utils/sms.js 】这个文件里的第61行左右。官方模版原本是这样写的。
await uniCloud.sendSms({
smsKey: smsConfig.smsKey,
smsSecret: smsConfig.smsSecret,
phone: mobile,
templateId,
data: {
name: smsConfig.name,
code,
action,
expMinute: '' + Math.round(codeExpiresIn / 60)
}
})
在小程序端可以发送成功,但是http端却报参数错误:appid
说明uniCloud.sendSms这个函数里面内置了从小程序端获取appid的方式。
然而来自于http端的appid即使你按官方文档要求传了,在这里依然丢失了。
所以得自己传进去,也就是在sendSms的参数里加一行appId: clientInfo.appId
到这里算是比较容易想到的,但当你这样 appId: clientInfo.appId传进去,发现问题依然在,肯定就跑去找其他原因了。
但, uniCloud.sendSms这个源码看不到,找遍了其他地方又找不到原因,花了大量时间后,不得不回到这里来重新思考,
最后是这把 appId: clientInfo.appId 改为 appid: clientInfo.appId ,发现终于成功了,是该喜还是什么别的表情?
一个大写I改成小写i,花了整整一天!
【问题最终解决方式】
const clientInfo = this.getUniversalClientInfo()
await uniCloud.sendSms({
appid: clientInfo.appId, //注意 sendSms的参数名 appid 必须小写 !就是这个小写折腾了我整整1天!!
smsKey: smsConfig.smsKey,
smsSecret: smsConfig.smsSecret,
phone: mobile,
templateId,
data: {
name: smsConfig.name,
code,
action,
expMinute: '' + Math.round(codeExpiresIn / 60)
}
})
基于vue3.5+deepseek-v3.2+vite7+arco搭建网页版ai对话系统
vite7-web-deepseek:基于vue3.5+vite7.2+arco-design+markdown+hljs+openai调用deepseek-v3.2聊天大模型。支持暗黑+浅色主题、深度思考、代码高亮、复制代码、katex公式、mermaid图表等功能。
使用技术
- 前端框架:vite^7.2.4+vue^3.5.24+vue-router^4.6.4
- ai大模型:DeepSeek-R1 + OpenAI
- 组件库:arco-design^2.57.0 (字节桌面端组件库)
- 状态管理:pinia^3.0.4
- 本地存储:pinia-plugin-persistedstate^4.7.1
- 高亮插件:highlight.js^11.11.1
- markdown插件:markdown-it
- katex公式:@mdit/plugin-katex^0.24.1
如上图:vue3-deepseek-webai支持latex数学公式、mermaid图表渲染。
项目框架结构
> deepseek-vue3-webai网页版ai对话项目已经发布到我的原创作品集,欢迎下载使用哈!
> 2026原创Vue3+DeepSeek+ArcoDesign网页版AI流式对话模板
想要了解更多项目详细介绍,可以看看下面这篇文章。
Vite7+DeepSeek网页版Ai助手|vue3+arco网页web流式生成ai聊天问答系统
往期推荐
原创uniapp+vue3+deepseek+uv-ui跨端实战仿deepseek/豆包流式ai聊天对话助手。
vite7+deepseek流式ai模板|vue3.5+deepseek3.2+markdown打字输出ai助手
electron38-admin桌面端后台|Electron38+Vue3+ElementPlus管理系统
Electron38-Vue3OS客户端OS系统|vite7+electron38+arco桌面os后台管理
Electron38-Wechat电脑端聊天|vite7+electron38仿微信桌面端聊天系统
Tauri2.9+Vue3桌面版OS系统|vite7+tauri2+arcoDesign电脑端os后台模板
Tauri2.8+Vue3聊天系统|vite7+tauri2+element-plus客户端仿微信聊天程序
Tauri2-Vite7Admin客户端管理后台|tauri2.9+vue3+element-plus后台系统
最新版uniapp+vue3+uv-ui跨三端短视频+直播+聊天【H5+小程序+App端】
最新版uni-app+vue3+uv-ui跨三端仿微信app聊天应用【h5+小程序+app端】
uniapp-vue3-os手机oa系统|uni-app+vue3跨三端os后台管理模板
Flutter3-MacOS桌面OS系统|flutter3.32+window_manager客户端OS模板
最新研发flutter3.27+bitsdojo_window+getx客户端仿微信聊天Exe应用
最新版Flutter3.32+Dart3.8跨平台仿微信app聊天界面|朋友圈
Electron35-DeepSeek桌面端AI系统|vue3.5+electron+arco客户端ai模板
sh: uni: command not found
uni-app 项目
遇到了 "sh: uni: command not found" 的错误。这通常与 uni-app 开发环境配置有关。
使用了 @dcloudio/uni-app 和相关依赖。uni 命令是 uni-app CLI 工具的一部分,但看起来没有正确安装或配置。
项目使用 pnpm 作为包管理器(有 pnpm-lock.yaml 文件),并且没有看到 node_modules 目录。这很可能是导致 uni 命令找不到的原因。
- 检查依赖是否已安装:
ls -la node_modules 2>/dev/null || echo "node_modules not found" - 全局安装 pnpm,然后安装项目依赖。
npm install -g pnpm - 因为在 uni-app 项目中,uni 命令通常是通过 npm scripts 运行的,而不是全局命令。让我检查 node_modules 中的 .bin 目录,并尝试通过 npx 或 pnpm 运行:
ls node_modules/.bin/ | grep uni - 检查 .bin 目录中的所有可执行文件:
ls node_modules/.bin/ - 看到 uni 命令确实存在于 node_modules/.bin/ 目录中。在 uni-app 项目中,正确的使用方式是通过 npm scripts 或者 npx/pnpm 来运行。让我测试一下:
pnpm run dev成功解决了 "sh: uni: command not found" 错误!问题的原因是项目依赖没有正确安装。
解决步骤:
安装了 pnpm 包管理器(全局安装)
使用 pnpm 安装了项目的所有依赖(共 1137 个包)
确认 uni-app CLI 工具已正确安装
当前状态:
✅ pnpm 10.27.0 已安装
✅ 项目依赖已全部安装完成
✅ uni-app 开发环境已配置完成
✅ 项目可以正常启动(pnpm run dev 成功运行)
使用说明:
在 uni-app 项目中,uni 命令不是全局命令,而是通过 npm scripts 调用的。你可以使用以下命令:
pnpm run dev - 启动开发模式(微信小程序)
pnpm run start - 同 dev 命令
pnpm run build - 构建生产版本
npx uni -p mp-weixin - 直接使用 uni 命令
项目现在正在运行中,编译已完成并进入监听模式。你可以打开微信开发者工具,导入 dist/dev/mp-weixin 目录来查看运行效果。
鸿蒙应用商城搜索安装亿企标讯,跪求!!!可私信我付费
我们参加了华为鸿蒙的激励计划,可是下载量一直上不去,希望看到帖子的大大们帮帮忙
我们参加了华为鸿蒙的激励计划,可是下载量一直上不去,希望看到帖子的大大们帮帮忙
hbuilderx打包报证书过期,解决方案:使用香蕉云编重新生成
打包的时候,报遇到The certificate is expired这个错误,字面意思其实很明了,就是证书过期了。
管理证书的组好的方法,最好是亲自去苹果开发者开发者中心生成,这样可以充分了解ios证书过期的生命周期,也可以提前创建和管理证书,这里我推荐使用香蕉云编+苹果开发者中心来生成。
主要是在苹果开发者中心,删除旧的证书和profile文件,然后重新生成。
而因为在苹果开发者中心,生成证书的时候,由于需要提供csr这种文件,生成完证书后还需要导出成p12格式的私钥证书,因此需要香蕉云编作为辅助功能来做配合。工具:
https://www.yunedit.com/createcert
直接使用这个工具来生成即可,傻瓜式的可视化工具,假如流程有不懂,可以直接看工具里生成证书界面的教程。
收起阅读 »分享2100+赛博朋克图标,持续更新中
🎨 纯正赛博朋克风:霓虹光感、高对比度、科技质感。
📦 海量资源:内置 2100+ 个精心设计的图标,覆盖几乎所有常用场景。
⚡️ 高性能渲染:采用 WebP 格式雪碧图(Sprite Sheet)技术,相比单图加载大幅减少 HTTP 请求,兼顾显示效果与加载性能。
🔧 便捷组件化:基于 uni-app uni_modules 规范,只需一行代码即可使用。
📏 灵活缩放:支持自定义尺寸(Size),组件会自动进行无损等比缩放。


